AntiVirus - scan your system for viruses.
File search - a file and folder search utility.
FireWall - basic set up and configuration.
Timeshift - a System Restore utility.
Timeshift - Creating a Restore Point.
Timeshift - Restoring a backup.
USB Persistence - Install Linux Lite to a USB device.
VirtualBox - use a virtual environment to run other operating systems within Linux Lite.
General Information
This page is a work in progress. Over time more tutorials will be added to it. Some of them may deal with software that is already included in the standard Linux Lite installation. Many will be for software that needs to be installed first because it is not part of the standard installation.
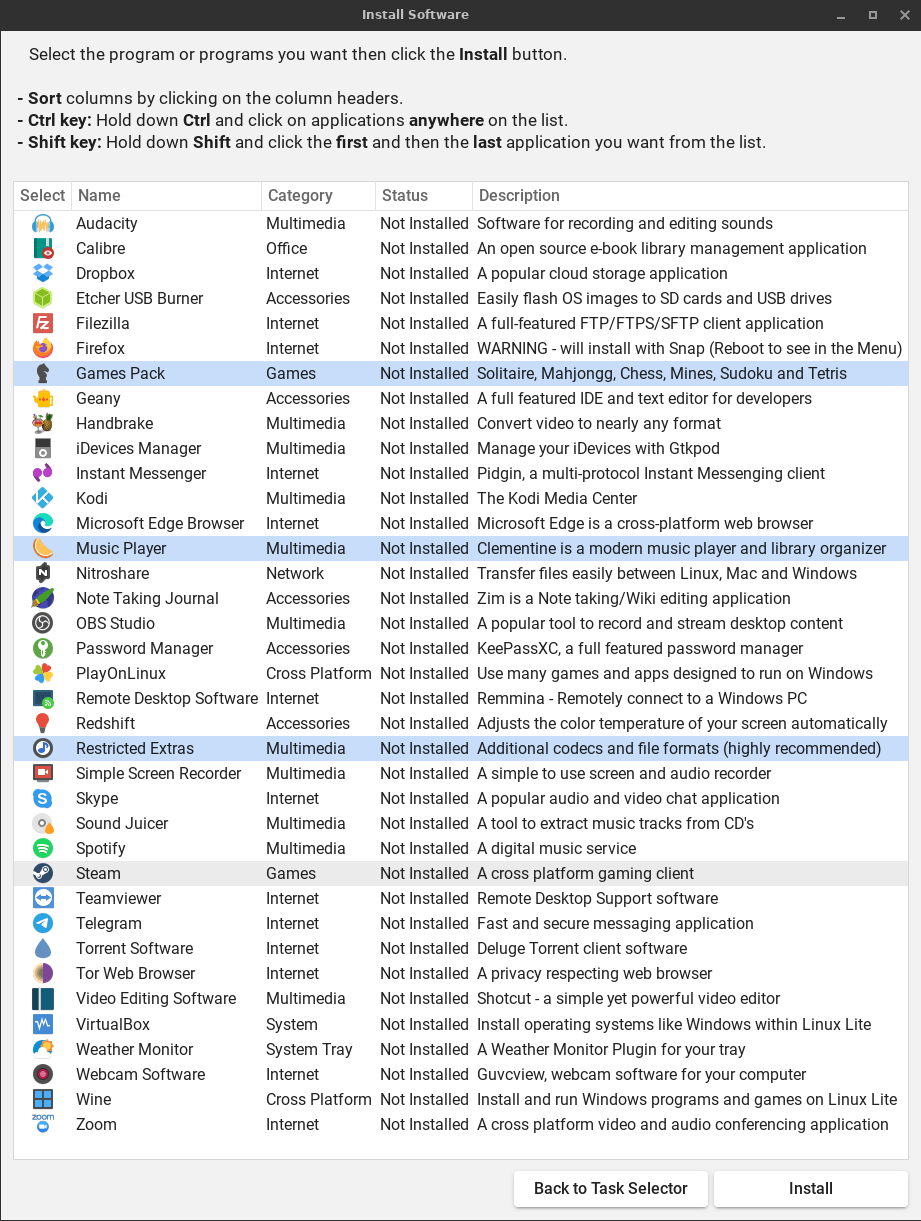
What you will see when installing from Menu, Settings, Lite Software.
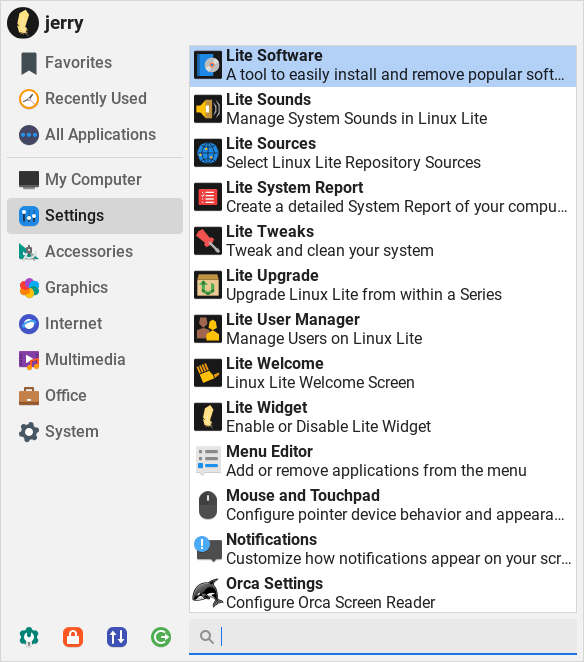
Lite Software below. Learn how to use it here.
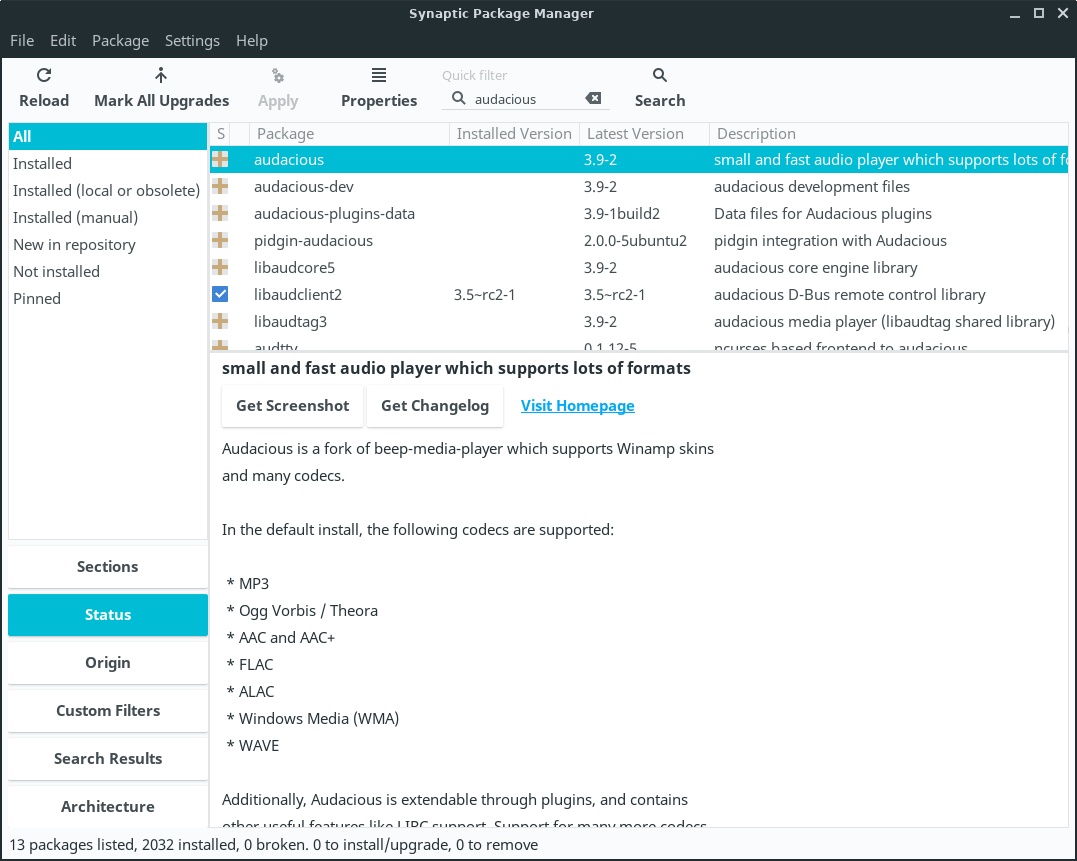
What you will see when installing from Menu, System, Package Manager (Synaptic Package Manager).
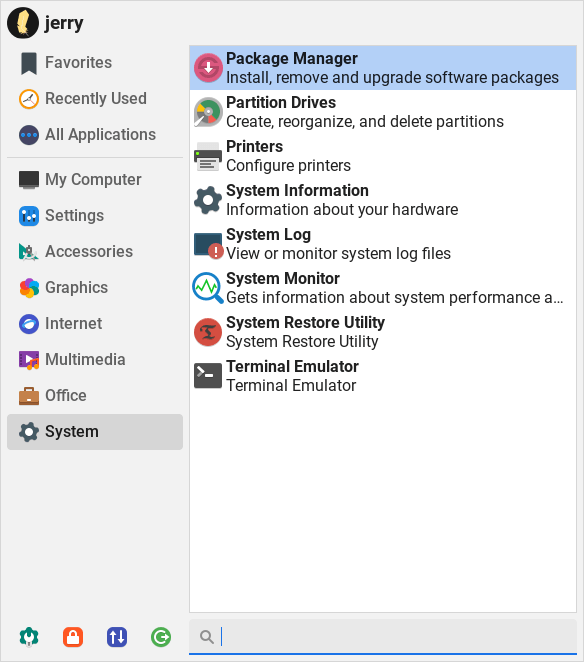
The Synaptic Package Manager below. Learn how to use it here.
AntiVirus
Viruses can occur on any computer system. The following tutorial is a collection of commands that allows you to scan your entire system for viruses.
Install the virus scanner:
sudo apt-get install clamav clamav-daemonDownload the latest virus definitions:
sudo freshclamIf you get the following error in your terminal:
ERROR: /var/log/clamav/freshclam.log is locked by another processRun the following command in your terminal:
sudo rm -rf /var/log/clamav/freshclam.logThen run the following command again in your terminal:
sudo freshclamOnce your virus database is up to date, proceed to scan your system for viruses:
sudo clamscan -r -i / | grep FOUND >> /home/youruser/virus-scan-report.txtWhere youruser is your username.
The scan will take anywhere from several minutes to several hours, depending on how many files there are to scan.
To just scan your home folder, run the following:
clamscan -r -i /home/youruser/ | grep FOUND >> /home/youruser/virus-scan-report.txtWhere youruser is your username.
When the scan has finished, open the virus-scan-report.txt in your home folder and look to see where any viruses may be residing:
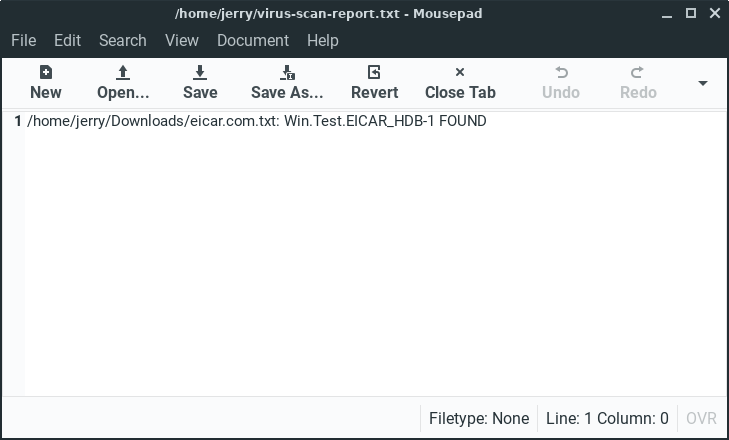
You can then go into the folder where the virus was found and delete it.
Be sure to run the following command in your terminal before running a new virus scan to ensure your virus definitions are up to date:
sudo freshclamThen run your new virus scan.
FireWall
A firewall is a piece of software that determines what network traffic can flow between your computer and your local network and internet.
By default, the Firewall is disabled in Linux Lite.
How a Firewall works:
NETWORK TRAFFIC COMING INTO YOUR PC >>> HITS THE FIREWALL >>> FIREWALL SEES IF THERE IS AN EXISTING RULE TO LET THAT TRAFFIC THROUGH.
IF THERE IS A RULE, LET IT THROUGH. IF THERE IS NOT A RULE, BLOCK IT.
To enable the firewall:
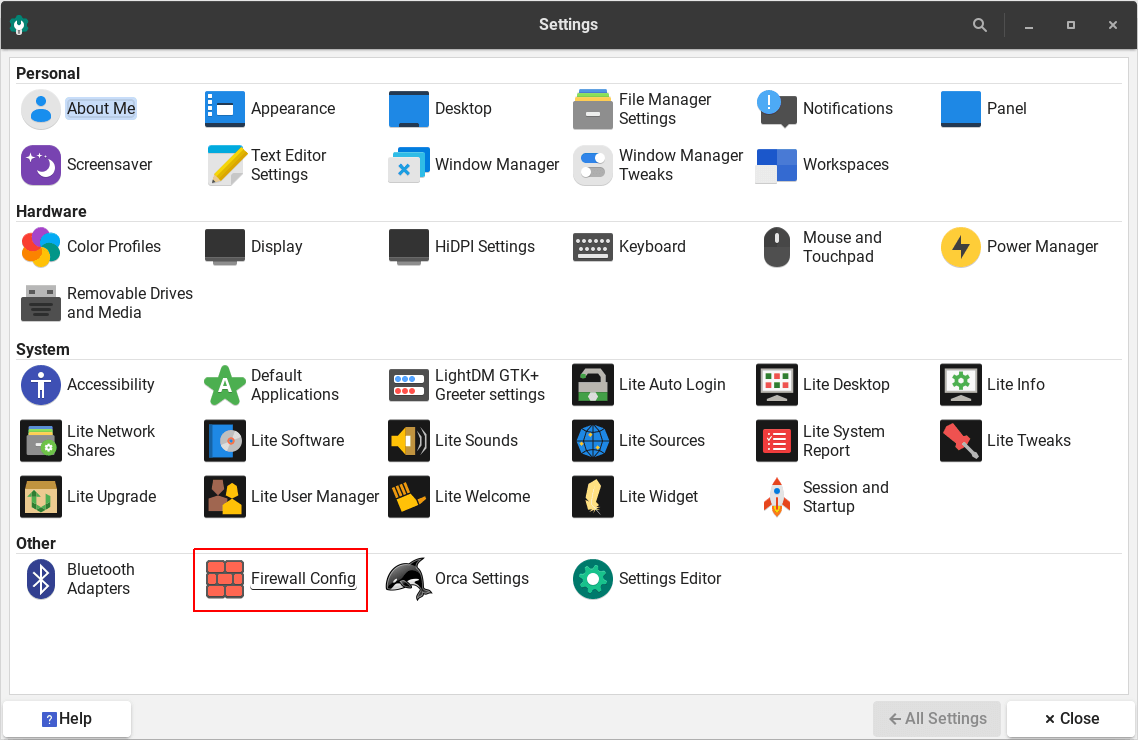
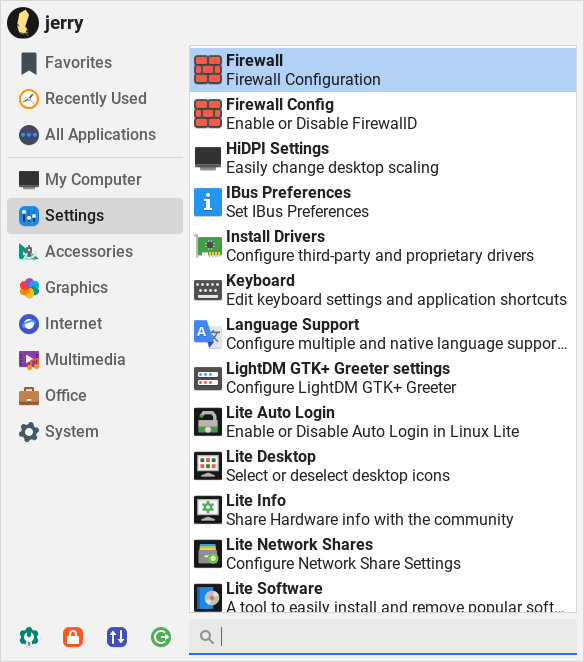
Click on Menu, Settings, Settings Manager. Now click on Firewall Config.
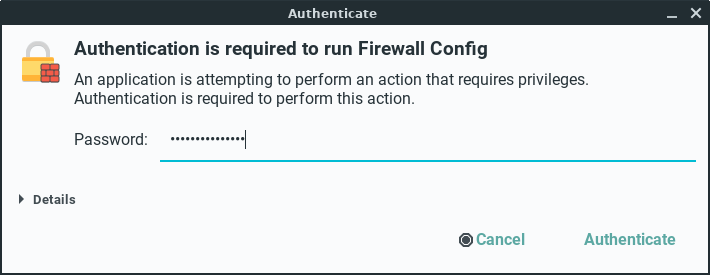
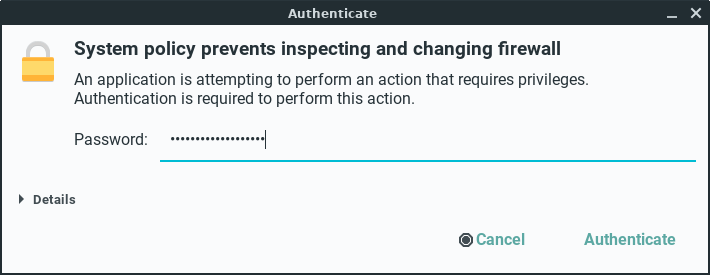
Enter your password.
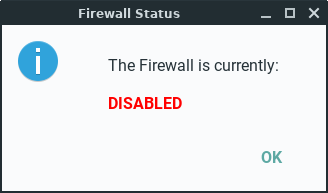
Click on the Show Status button.
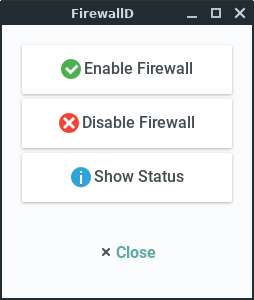
Firewall shows as Disabled.
Click on the Enable Firewall button.
The Firewall will go through the start up process.
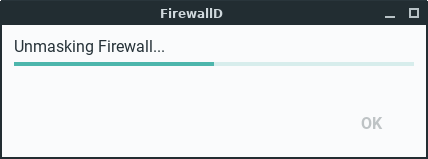
Click OK to finish.
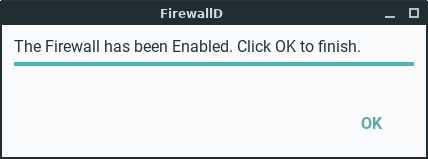
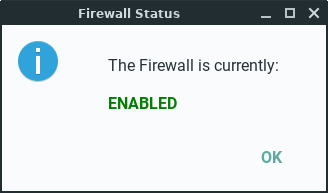
The Firewall now shows as Enabled.
The same application can be used to disable the Firewall, just follow the above steps and choose Disable Firewall instead.
To enable the firewall in the Terminal:
sudo systemctl unmask --now firewalld
sudo systemctl enable firewalld
sudo systemctl start firewalldThe following command shows the status of your firewall:
sudo firewall-cmd --stateWith the Firewall enabled, Linux Lite let's through the everyday traffic by default, for example, internet and mail. If you want for example to use DropBox, you will need to make sure it has been ticked in the Services tab, and the relevant ports have been added. Torrent applications and their accompanying ports will also need to be ticked and added to function properly.
If you have a firewall elsewhere on your network (like most routers do) then you can disable the firewall permanently by doing the following:
sudo systemctl stop firewalld
sudo systemctl disable firewalld
sudo systemctl mask --now firewalldA list of common ports to work with an Enabled Firewall:
Teamviewer - 5938 - TCP & UDP
NitroShare - 40818 - TCP & 40816 UDP
Printing (Network) - 5353 (mDNS) UDP, 631 (IPP/IPPS) TCP, 9100-9102 (AppSocket/JetDirect) - TCP
More will be added here over time.
Most common firewall applications are included in FirewallD, they just need to be ticked (enabled). Check the existing lists in FirewallD before adding your own rules.
You must enable the Firewall by the Terminal first (see above).
Click on Menu, Settings, Firewall.
Enter your password.
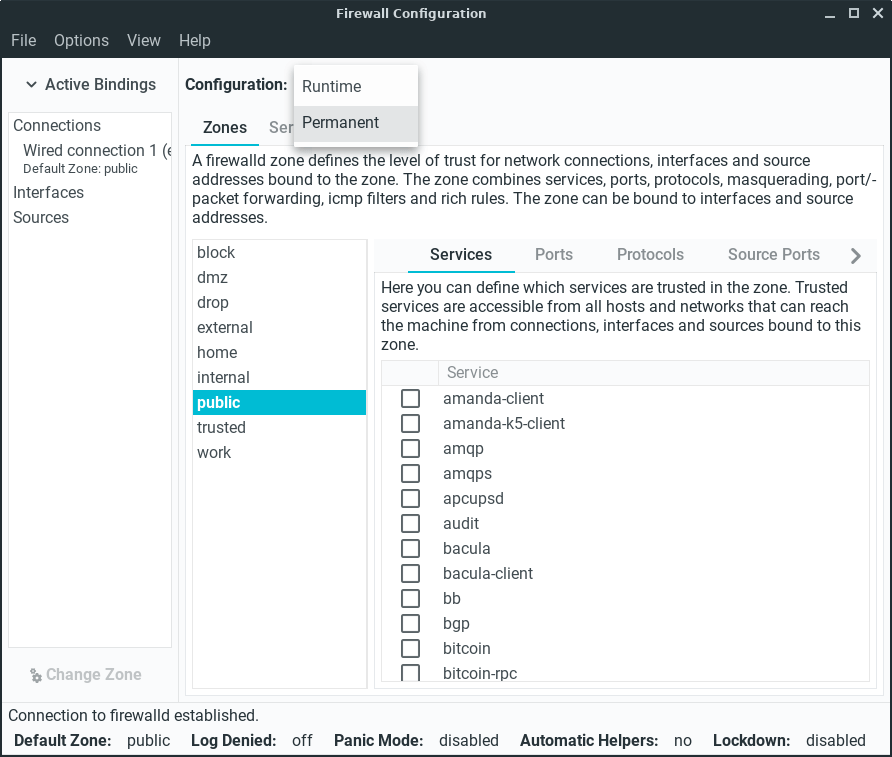
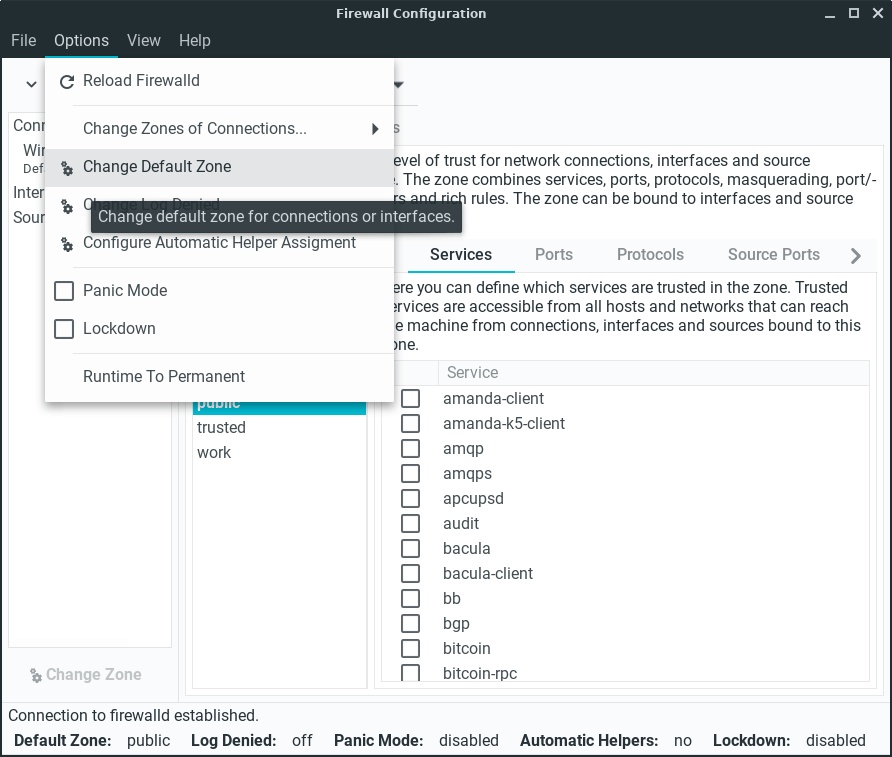
Select Configuration, Permanent before you attempt any type of firewall adjustments.
Click on Options in the main menu, Change Default Zone.
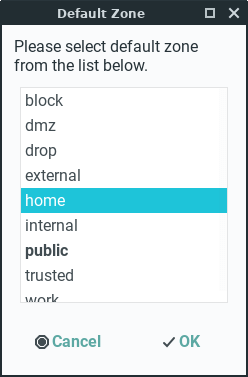
Select home from the pop up box, then click on OK.
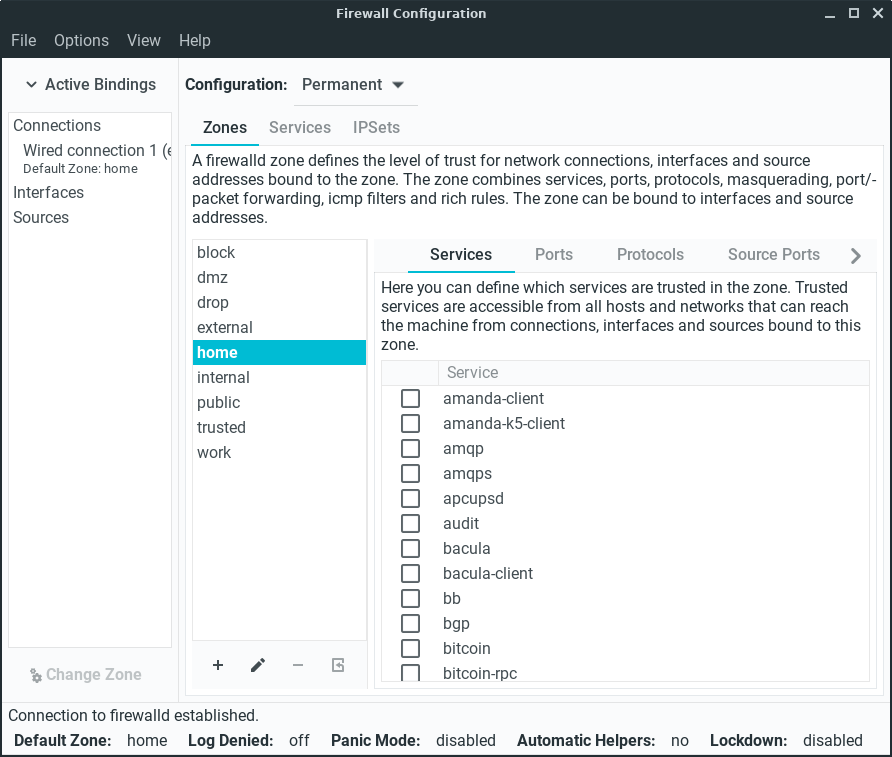
We're now set up for home firewall configuration.
Now that we're all set up, let's show you how to allow ports through to your computer.
In the following example, we'll use SSH, a common protocol for remotely connecting to another computer.
Adding a port to an EXISTING service
Make sure Configuration is set to Permanent and your Zone is set to home or your changes will not stick.
Most SSH servers run on port 22 but this also means that is someone is trying to hack you, this is the first port they will try to attack you on. A clever Server Admin would change this port number before letting the SSH server go live. Let's say it gets changed to Port 6860 for this example.
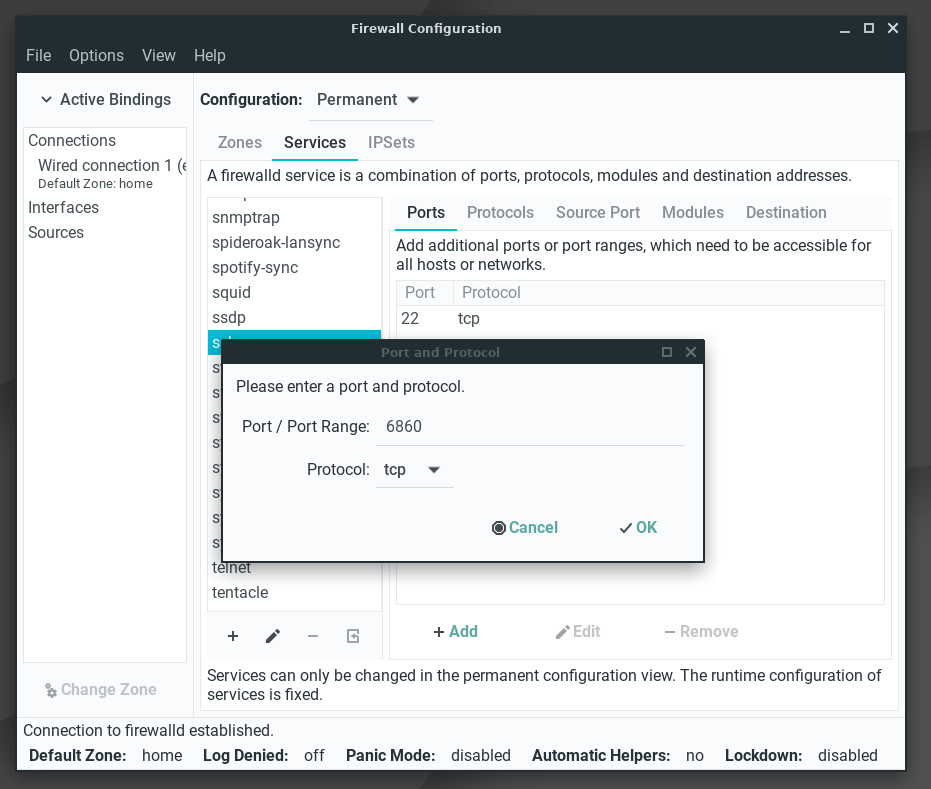
Click on the Services tab and select ssh from the left pane. Then click on +Add at the bottom.
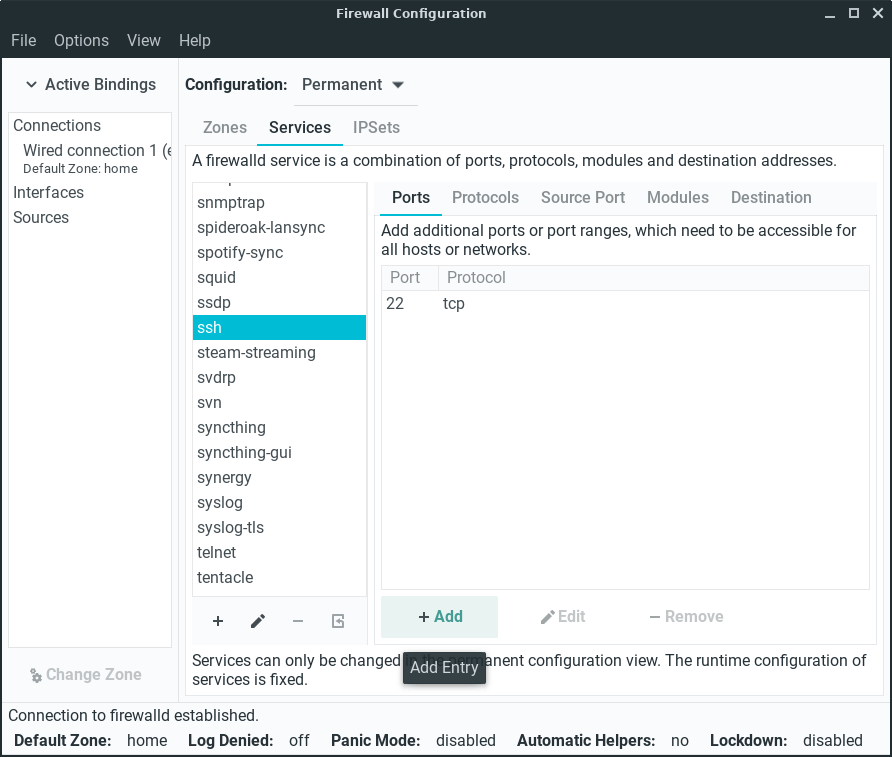
Enter in the port number, then click on OK.
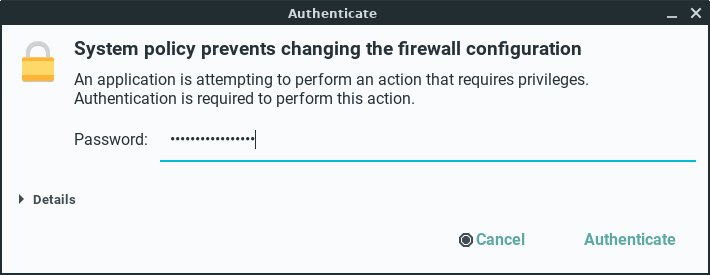
Enter your password.
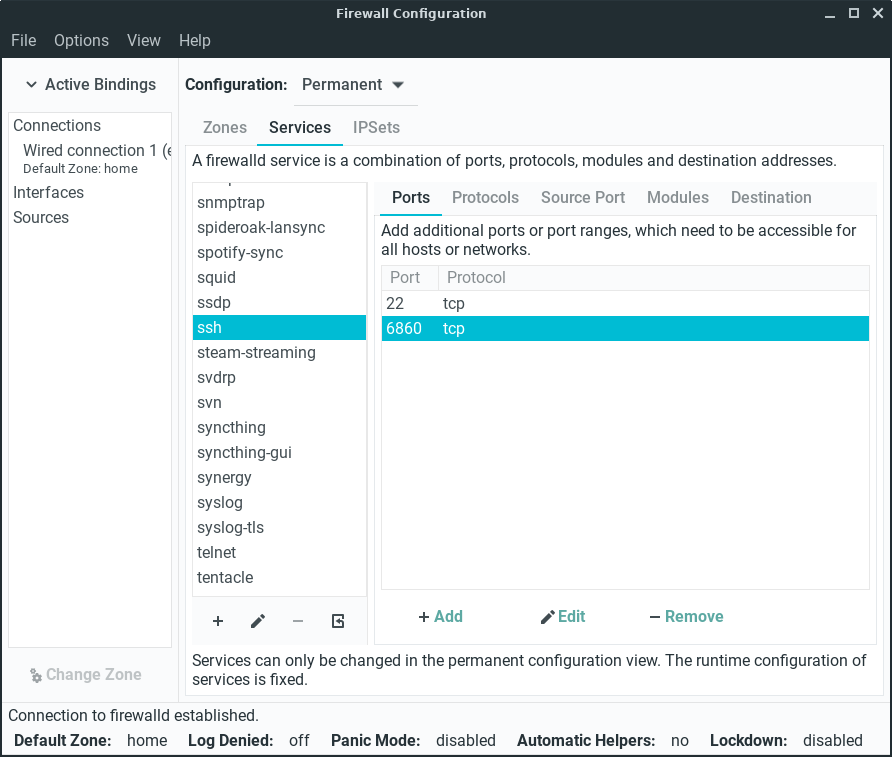
Port 6860 has now been added. The server admin should now remove port 22 by selecting it and clicking on the -Remove button. Click on Options, Reload Firewalld to activate our new firewall rule, enter your password if prompted.
Adding a NEW service
Make sure Configuration is set to Permanent and your Zone is set to home or your changes will not stick.
In this example, we'll set up a fictitious server and port. Let's call it ACME with port numbers 4545 and 4546 (both using the tcp protocol).
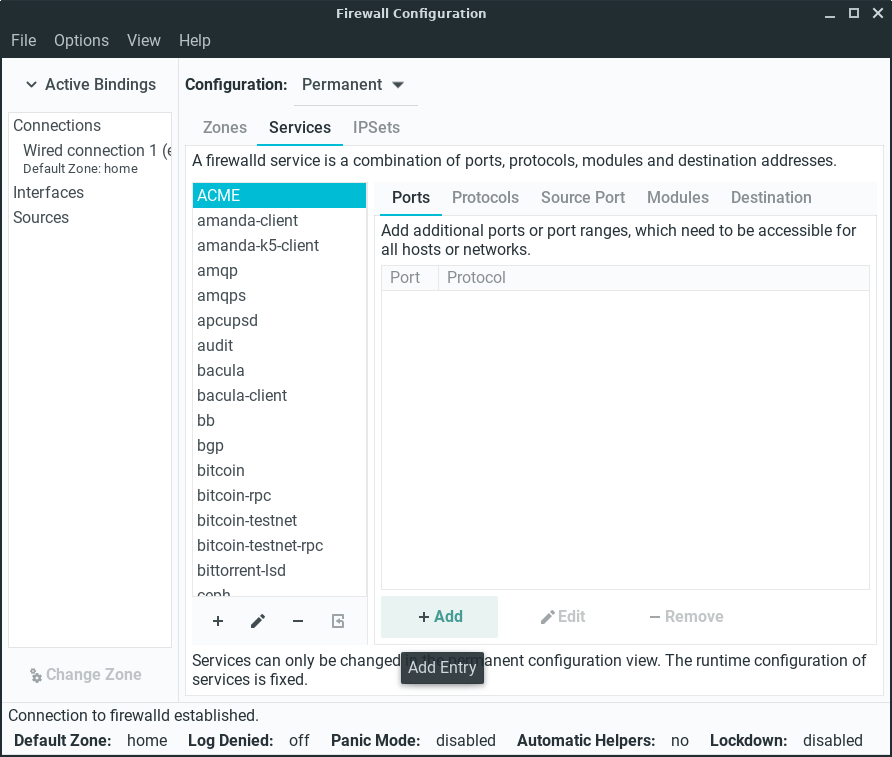
Click on the Services tab and click the + sign as shown below.
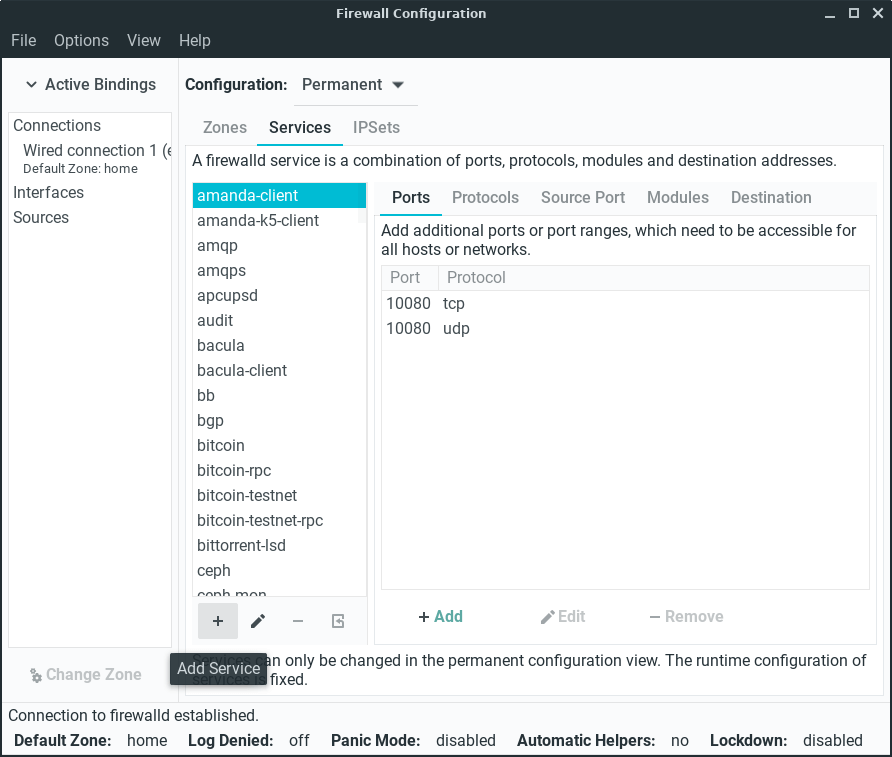
Enter in similar details as you would for your application below.

ACME is now added to the application list. Now we just need to add the two ports.

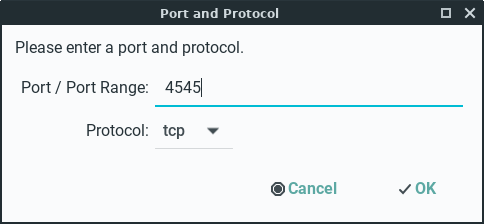
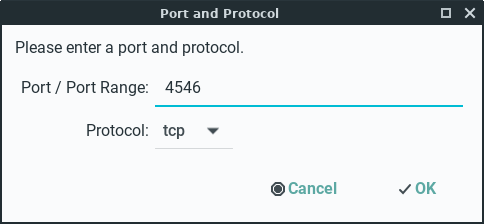
Click on Add in the Ports tab and enter in the ports.
Enter the port numbers. To make it easy here, just add one at a time.
Here our application ACME and it's ports number are all set to go.
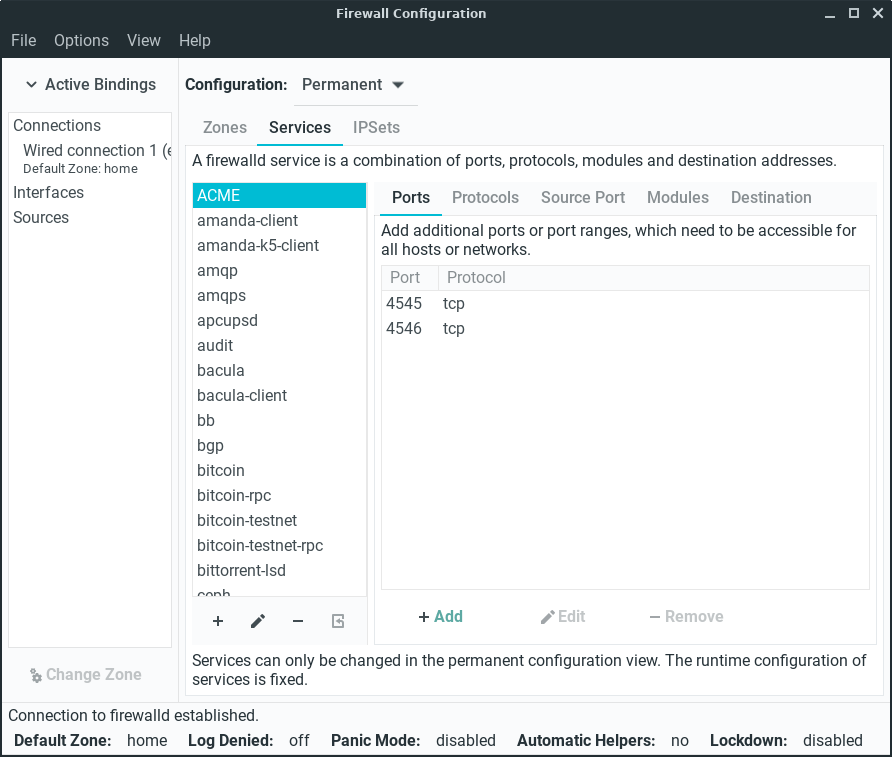
Click on the Services tab and place a tick in ACME.
Click on Options, Reload Firewalld to activate our new firewall rule, enter your password if prompted.
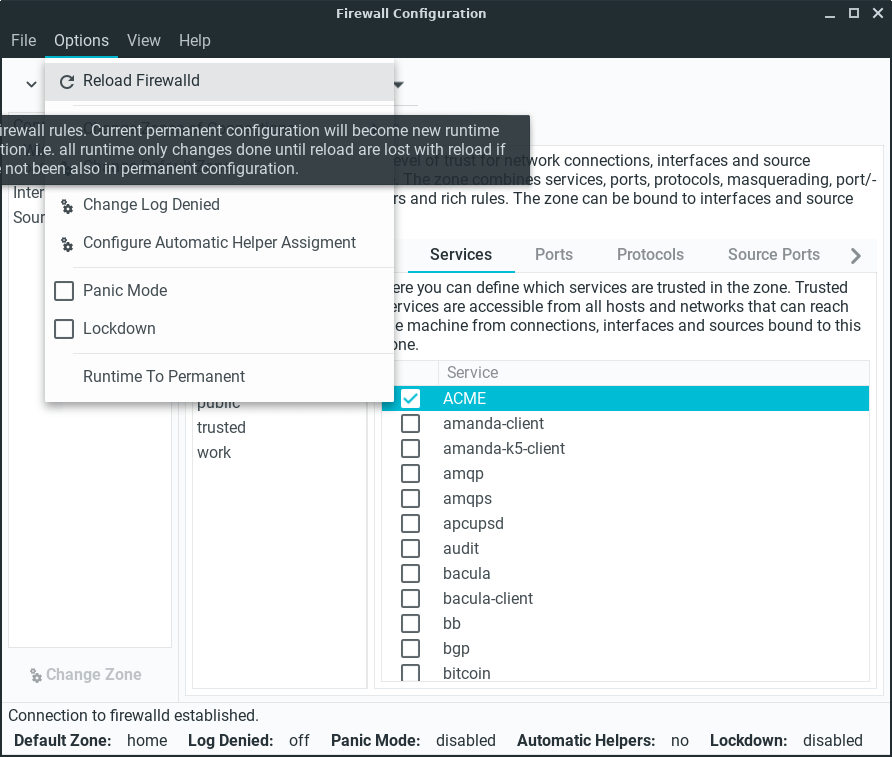
Our new Firewall rule is now set up to work properly.
Timeshift
Timeshift is a system restore tool for Linux. It provides functionality that is quite similar to the System Restore feature in Windows or the Time Machine tool in MacOS. Timeshift protects your system by making incremental snapshots of the file system manually or at regular automated intervals.
These snapshots can then be restored at a later point to undo all changes to the system and restore it to the previous state. Snapshots are made using rsync and hard-links and the tool shares common files amongst snapshots in order to save disk space. Now that we have an idea about what Timeshift is, let us take take a detail look at setting up and using this tool.
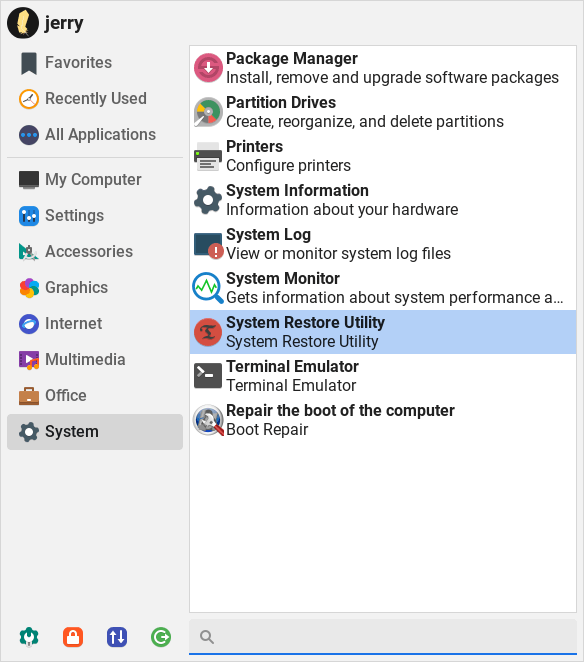
Go to Menu, System, System Restore Utility.
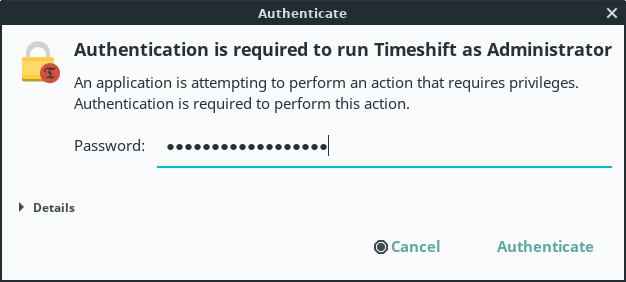
Enter your password.
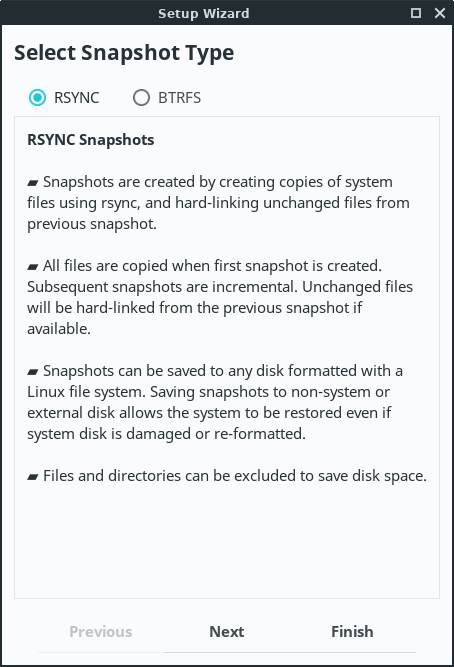
Timeshift supports 2 snapshot formats. The first is by using Rsync and the second is by using the in-built features of BTRFS file system that allows snapshots to be created. Most peoples choice will be Rsync unless you chose the BTRFS file system during your Linux Lite installation. Select Rsync and click on the Next button.
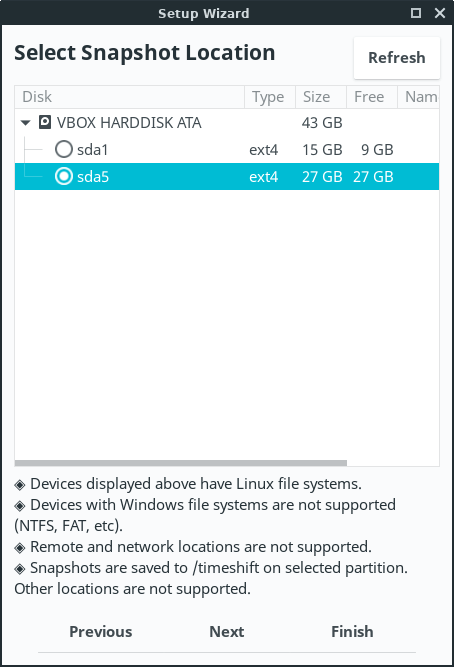
The next thing to do is select your snapshot location. You can choose to have your snapshots on your local disk or on an external storage device. Wherever you choose, make sure you have at least 100Gb plus of spare storage. An external hard drive is an wise choice. In the following example, sda5 is our backup location, sda1 is our Linux Lite partition. Click on the Next button.
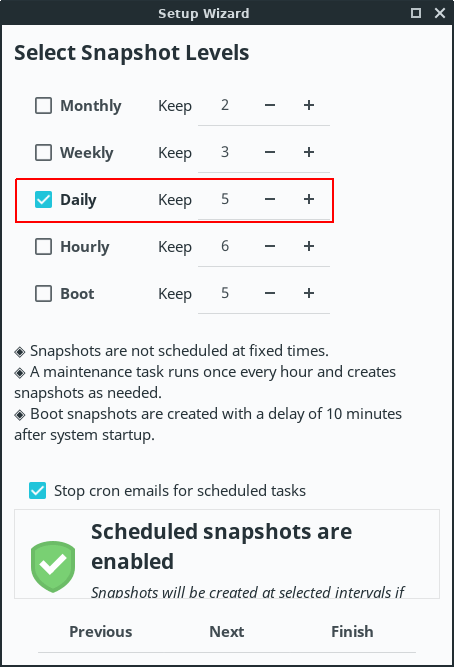
Timeshift allows you to create snapshots on hourly, daily, weekly, monthly or on boot basis. So you can select the frequencies you want and the number of snapshots to keep.
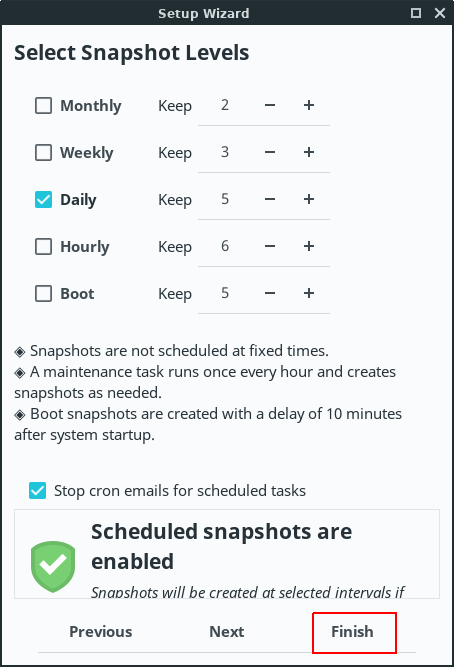
Click on Finish to complete your setup.
Creating a snapshot is simple. Just click on the Create button and your first snapshot will be created. Depending on what should be included or excluded from the snapshots, it will take several minutes for the process to complete.
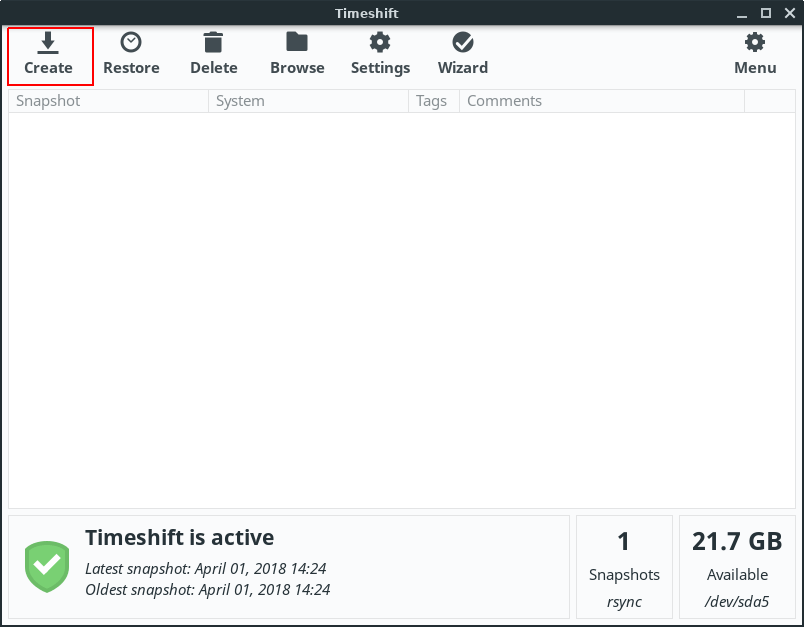

You can add comments to your snapshots so you can have a description of the snapshot.

Settings, Filters
You can also specify Filters to include or exclude files or directories from the snapshots. Timeshift is designed to protect system files and settings. User data such as documents, pictures and music are excluded by default. This prevents you from overwriting your documents when you restore a snapshot or using all of your storage to backup media (pictures, music, and video) files. We recommend you use the Backups application in the Accessories menu for your home folder backups, and use Timeshift for system backups, the choice is yours.
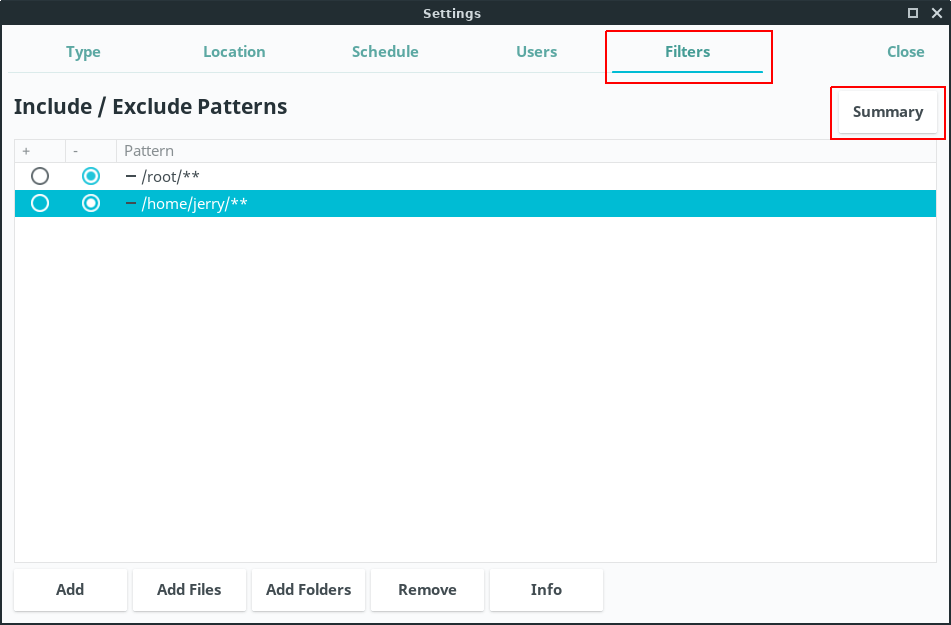
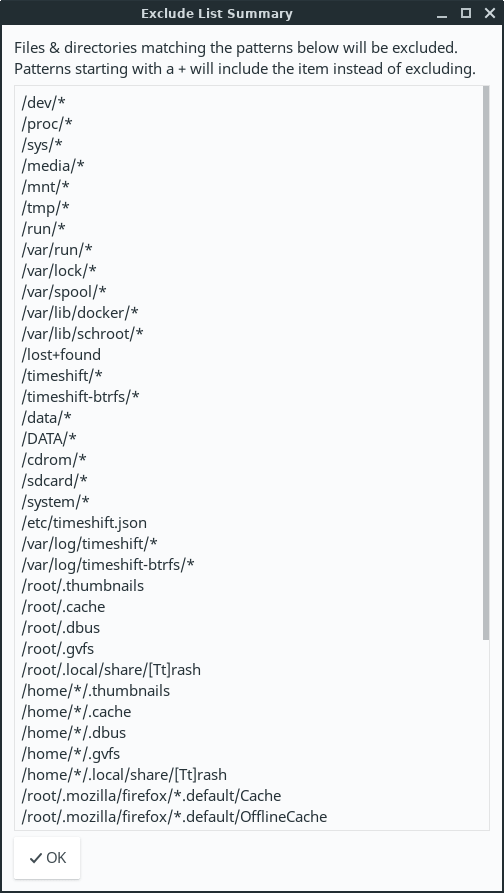
Clicking on the Summary option under Filters will show you what is included and what is not.
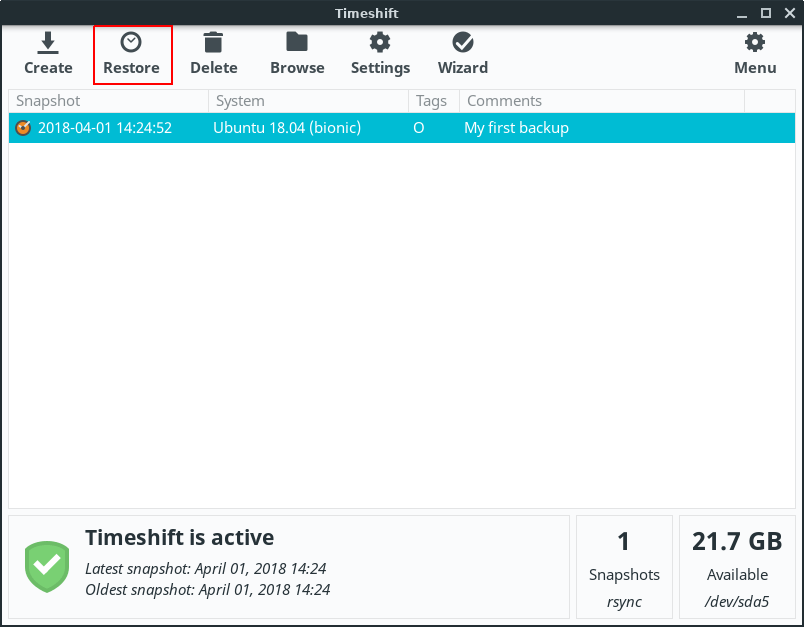
Restoring a Backup is as simple as selecting the snapshot you wish to restore and clicking on the Restore button.
Next you will select your target device where files will be restored. You will have to specify your root device and whether or not to keep the boot and home files on the root device or on another partition.
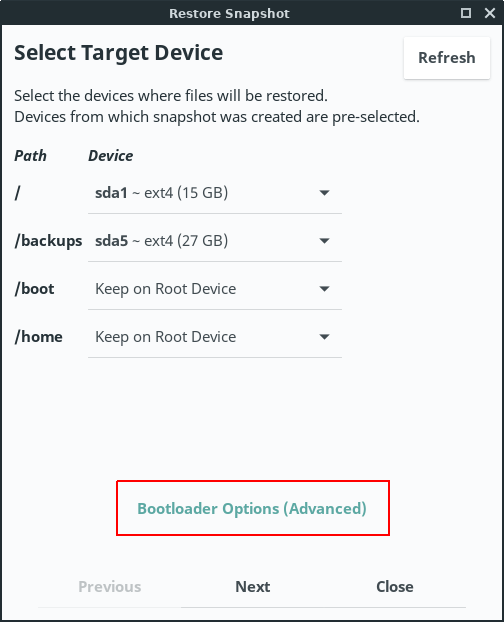
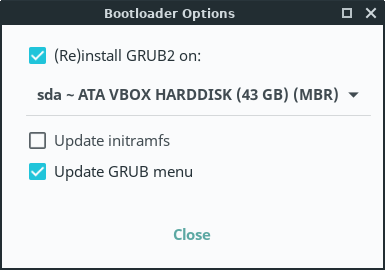
You then specify the Bootloader Options as to whether or not to reinstall GRUB2, to update or not intramfs and the Grub Menu.
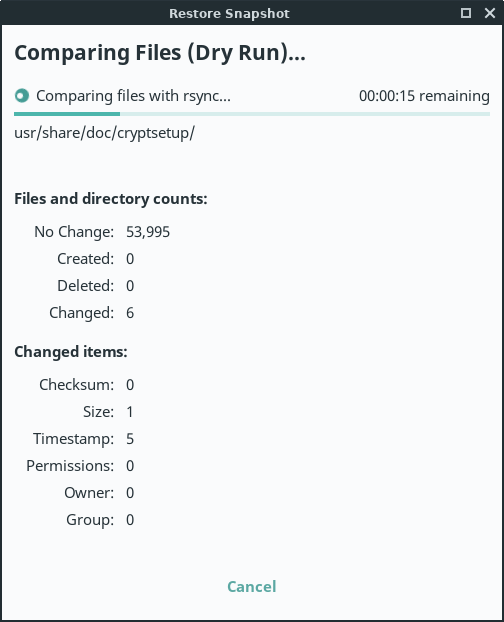
Timeshift will then simulate a Restore by performing a 'Dry run'. This takes place to ensure the Restore process runs without error.
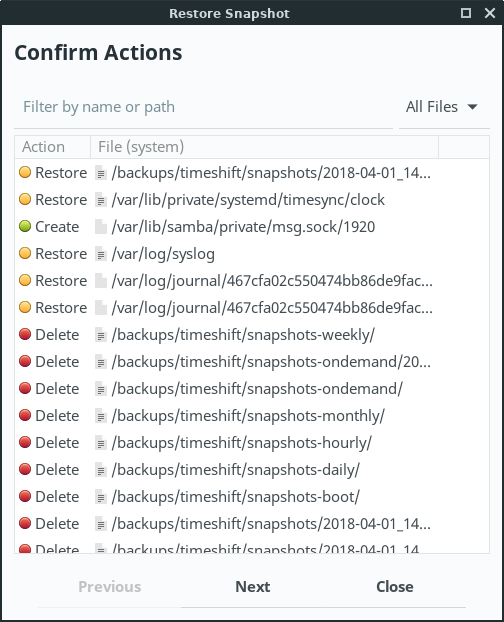
On the Confirm Actions window click on Next.
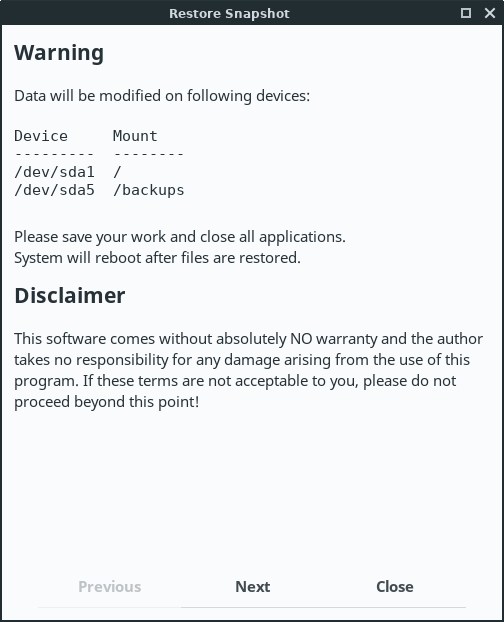
The next window is a Warning dialogue that gives you a summary of the Restore process. Click on Next.
The Restore process begins. This may take some time.

The snapshot will be applied and then your computer will restart to complete the process.
Many thanks to Mohd Sohail of LinuxAndUbuntu.com for help with this tutorial.
USB Persistence
USB Persistence enables the user to have a USB device with Linux Lite installed onto it, that can then be rebooted and all the files and settings are still available.
The following tutorial will walk you through how to install Linux Lite to a USB device.
We will use mkusb to create our persistent USB.
First, we install the mkusb PPA. Complete one line at a time.
NOTE: Installing this will remove USB Image Writer and USB Stick Formatter.
sudo add-apt-repository ppa:mkusb/ppa
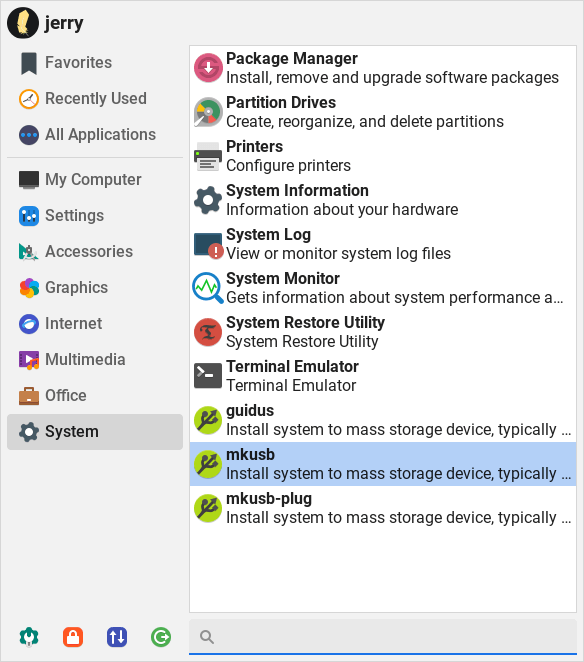
sudo apt install --install-recommends mkusb mkusb-nox usb-pack-efiLaunch mkusb, Menu, System, mkusb.
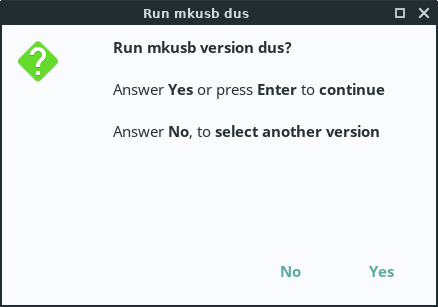
Click on Yes for the dialogue box.
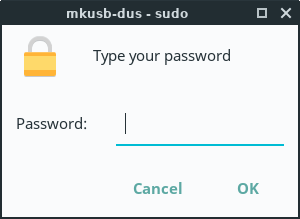
Enter your password.
Click on OK for the next box.

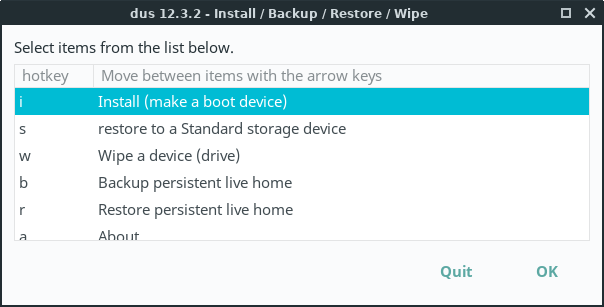
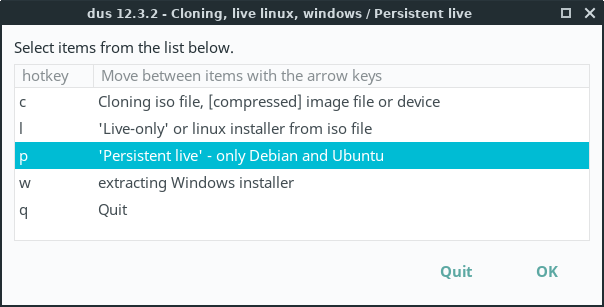
Select Install (make a boot device) and click on OK.
Select 'Persistent live' - only Debian and Ubuntu and click on OK.
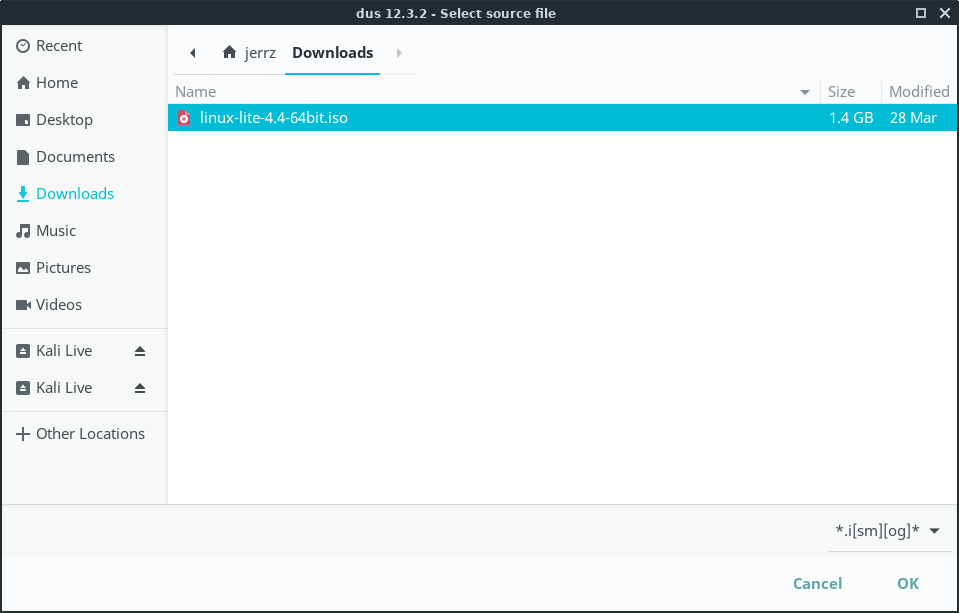
Select the Linux Lite ISO image file.
Make sure the correct USB device is listed and selected and click on OK.

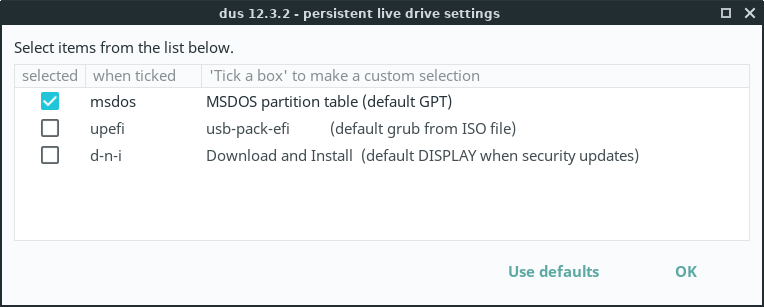
Select msdos from the list and click on OK. You will need to select upefi if you are using one of our UEFI installs on your UEFI computer.
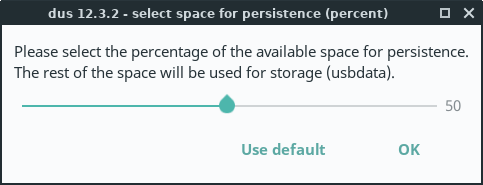
Adjust the slider to your preferences or just accept the default persistence space.
This is the space where your settings and files will be saved to so make sure to give it adequate space.
When you are ready, select Go then click on the Go button.
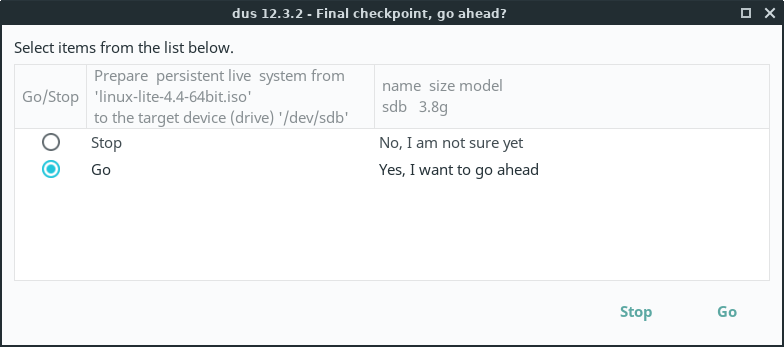
The application will now go ahead and create the USB persistence for you. This may take some time.

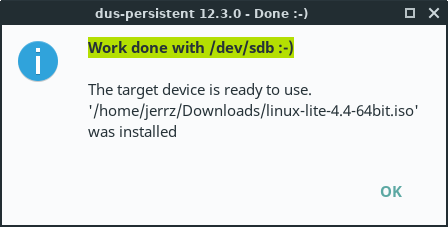
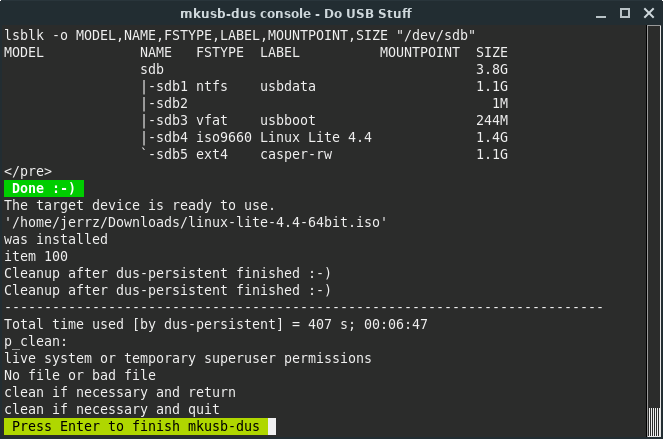
The process is now complete. Click on all the Quit options. You can now plug your USB device into a computer and boot from it.
VirtualBox
The VirtualBox application allows you to run other OS's (operating systems) within your main OS by creating a container of sorts for them to run in, independently from the main OS. You install other OS's to VirtualBox just like you would to a normal hard drive. VirtualBox creates a virtual hard drive for you to install to and the result is referred to as a Virtual Machine (VM).
You can install to VirtualBox using a bootable CD or DVD. Even more conveniently, you can install using a downloaded ISO file without the need to burn it first to a CD/DVD. You can also just boot ISO files and run them as a live environment - just as you would booting your computer from a live CD/DVD/USB - without installing it if you prefer.
Some common uses for VirtualBox are:
- Install a second copy of your main OS for testing and experimentation.
- Install other Linux distros that you want to use regularly, but do not want to install as a dual-boot on your computer.
- Install, or just run live, other distros for testing purposes.
- Install Windows so you can run its programs within Linux without rebooting the computer.
(Note: Microsoft considers that to be a separate installation of its software and requires another user license for that.)
Installing VirtualBox
To install VirtualBox, go to Menu, Settings, Lite Software and find it from the list of software to install. VirtualBox will take a couple of minutes to fully install, so just wait until the screen tells you it is done.
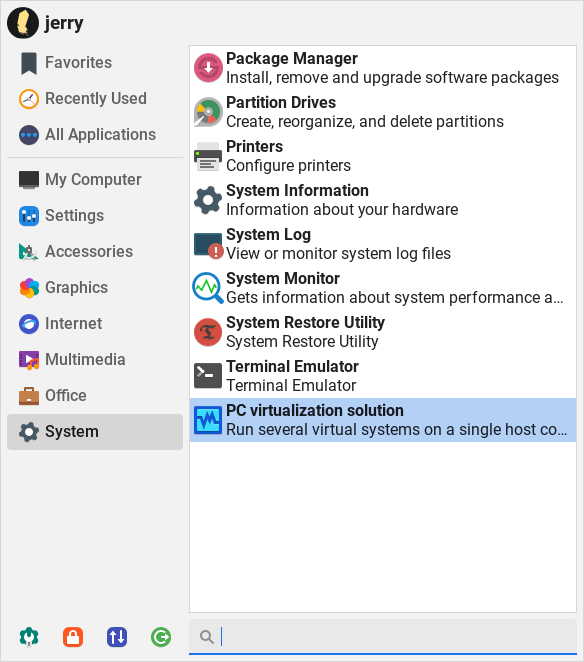
After installation is complete, you will find VirtualBox under both the Accessories and System sections of the Menu as PC virtualization solution.
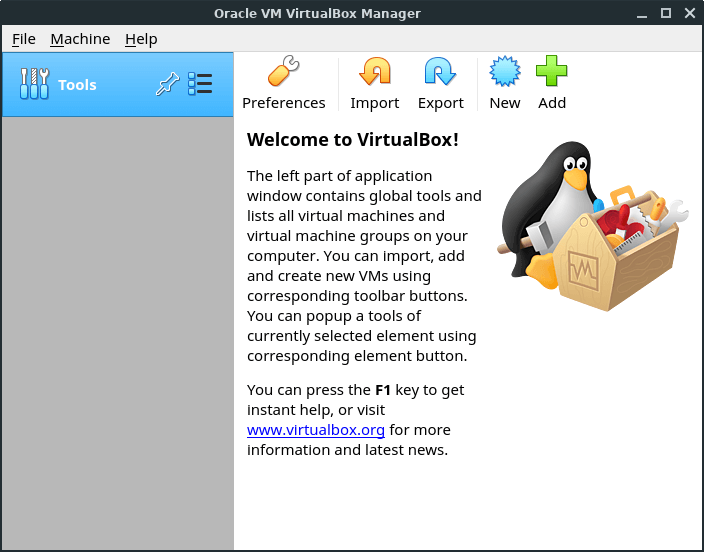
VirtualBox does not come pre-configured to use USB sticks. You need to download an extra package for that from their website. Go ahead and start VirtualBox, then follow the steps below to install what you need for USB support.
NB: Version numbers for VirtualBox - Please note that new versions are being released regularly, the information here is provided as a guide only. The latest version number of VirtualBox will change with time.
You need to know the version number of your VirtualBox installation in order to download the matching "Extension Pack". In this example, our version is 6.1.4; but double-check that by clicking Help, About VirtualBox from the main VirtualBox window. Then look along bottom of pop-up window for the version number.
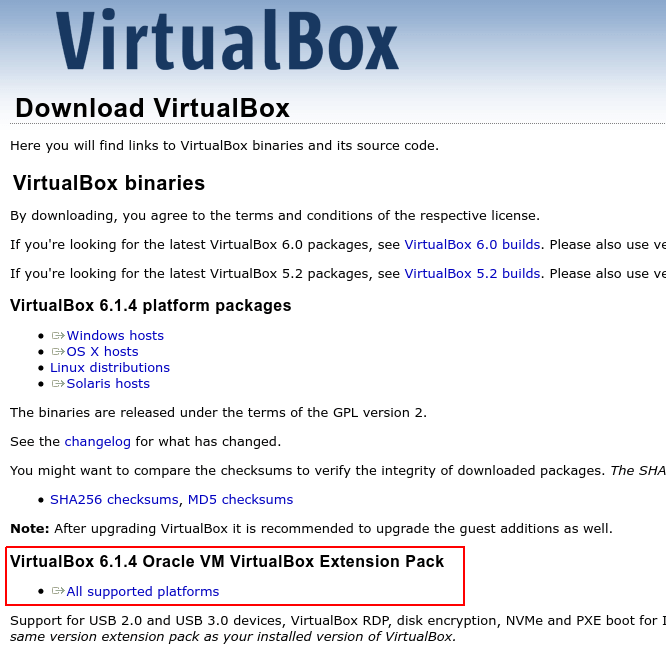
For the latest version, go to this VirtualBox webpage. Otherwise, go here, look for your version number and follow same steps as below to continue.
Find the Extension Pack listed under the heading for your VirtualBox version and click on All supported platforms to download it. Save the download to your Downloads folder.
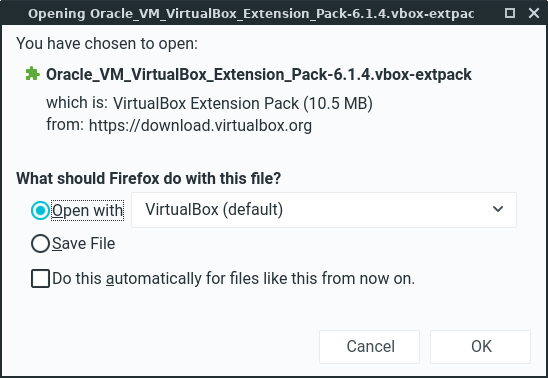
Choose Open with: VirtualBox.
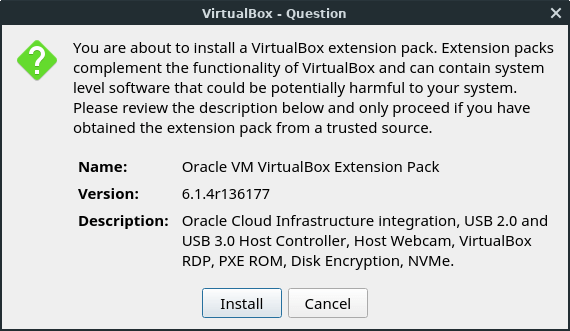
Click on Install.
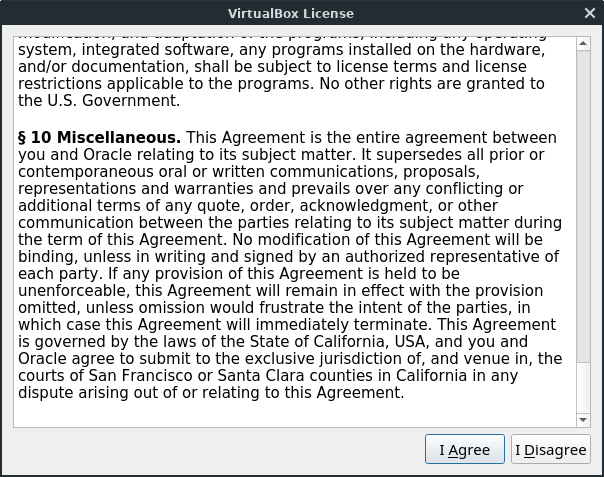
Scroll to the bottom of the License window and click on I Agree.
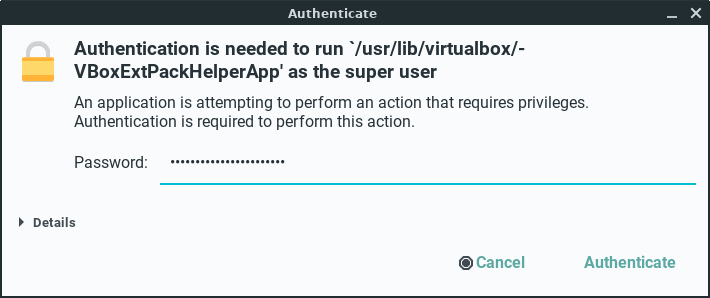
Enter your password.
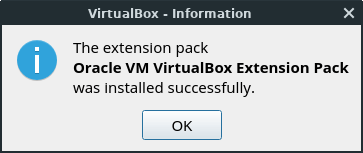
Install complete.
Using VirtualBox
VirtualBox can boot from either a live CD/DVD or an ISO file saved to your hard drive (HDD). In the following example we'll use a downloaded ISO file. If you are using a bootable CD/DVD, go ahead and load it into the tray before we get started.
Menu, System, PC virtualization solution
From main VirtualBox window, click the New button to make a new virtual machine environment.
Next, choose a Name for the virtual machine, the Type of operating system it will be, and Version of the operating system. When filling in version, specify either 32 or 64-bit system and choose the closest fit for the OS you will be installing if you don't see a listing that matches exactly under the Version drop-down box.
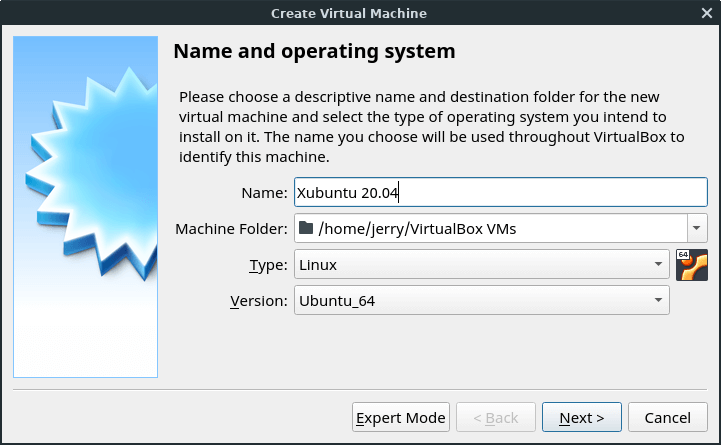
In this example, we will make a new machine for another Ubuntu-based distro called Xubuntu 20.04 and we are using its 64-bit version. There is no listing for Xubuntu, so we'll just choose Ubuntu_64 because that is what it is based on. (If you made a virtual machine [VM] with Linux Lite installed, you would also choose Ubuntu for the same reason.) Click Next to continue.
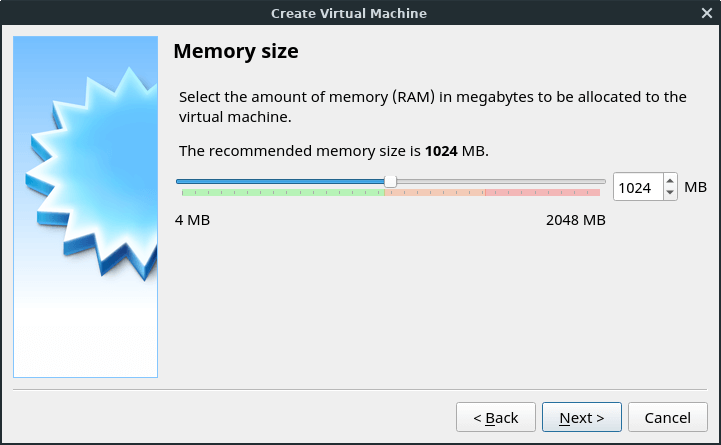
Decide how much of your RAM (memory) you want dedicated to operating the VM. 512MB-2GB will likely be fine most of the time. Do not dedicate more than half of your RAM to the VM - that could cause problems with the operation of your host OS, Linux Lite. (The VM is operating from within the host OS - you don't want the VM using more resources than the host itself.) In this example, the computer (host) has 2Gb of RAM, so 1024MB (1Gb) was allotted to the VM.
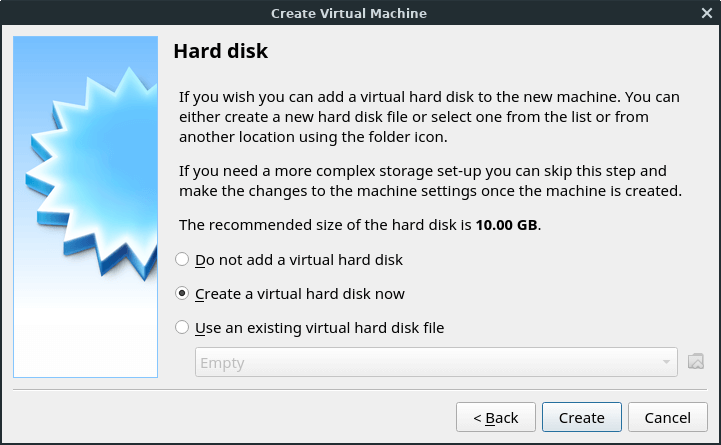
The next screen asks if you want to Create a virtual hard disk now. That is what we want, so we tick that radio button and click Create.
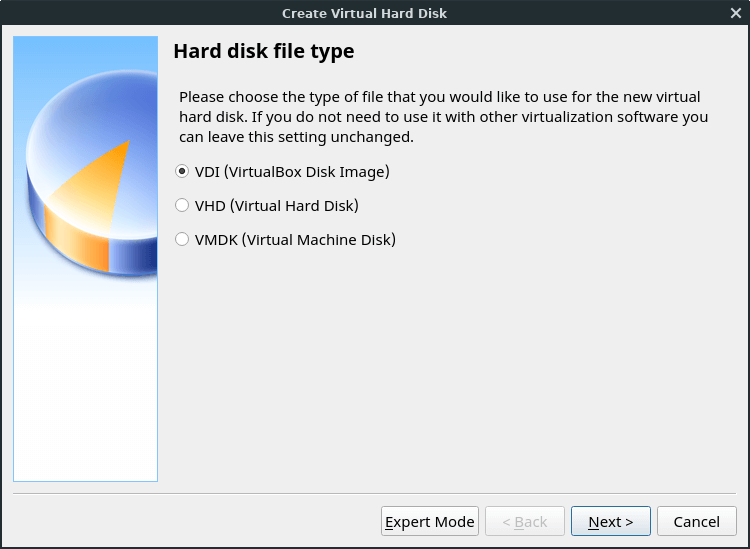
We'll choose VDI (VirtualBox Disk Image) from the Hard disk file type screen.
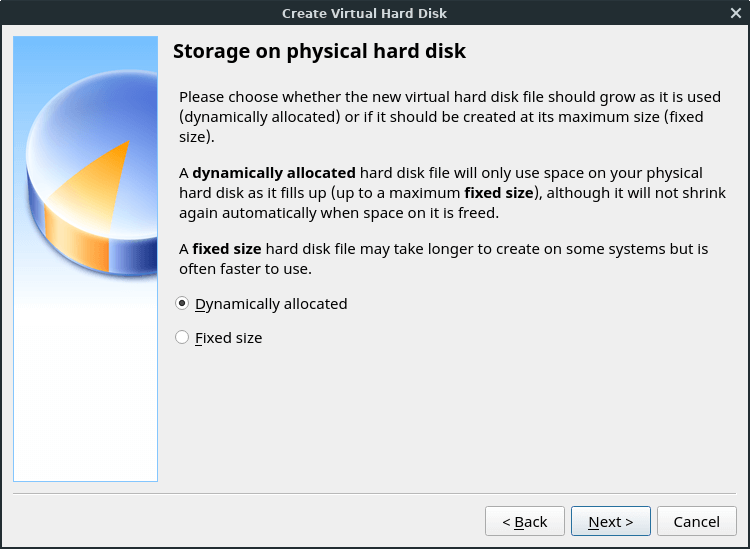
We'll choose Dynamically allocated from the Storage on physical hard drive screen.
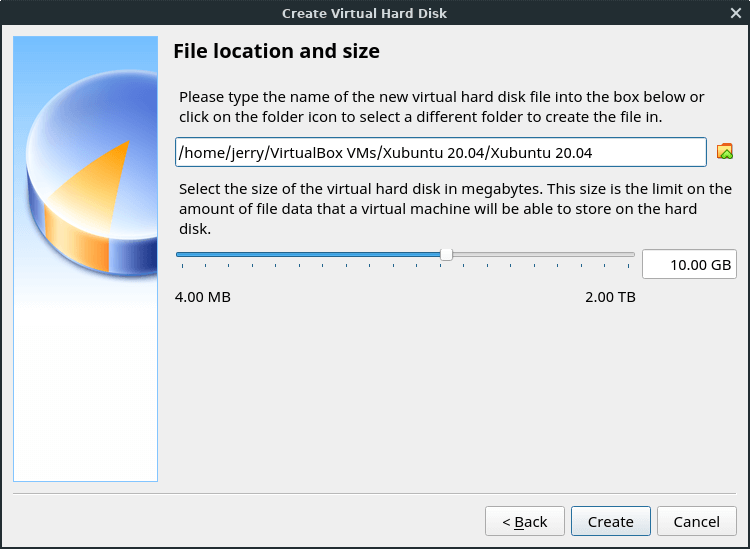
On the next screen we make the virtual drive 10GB. (VirtualBox will dedicate space from your hard drive for the virtual drive - so be sure you have enough room on your HDD to accommodate creating the virtual drive.)
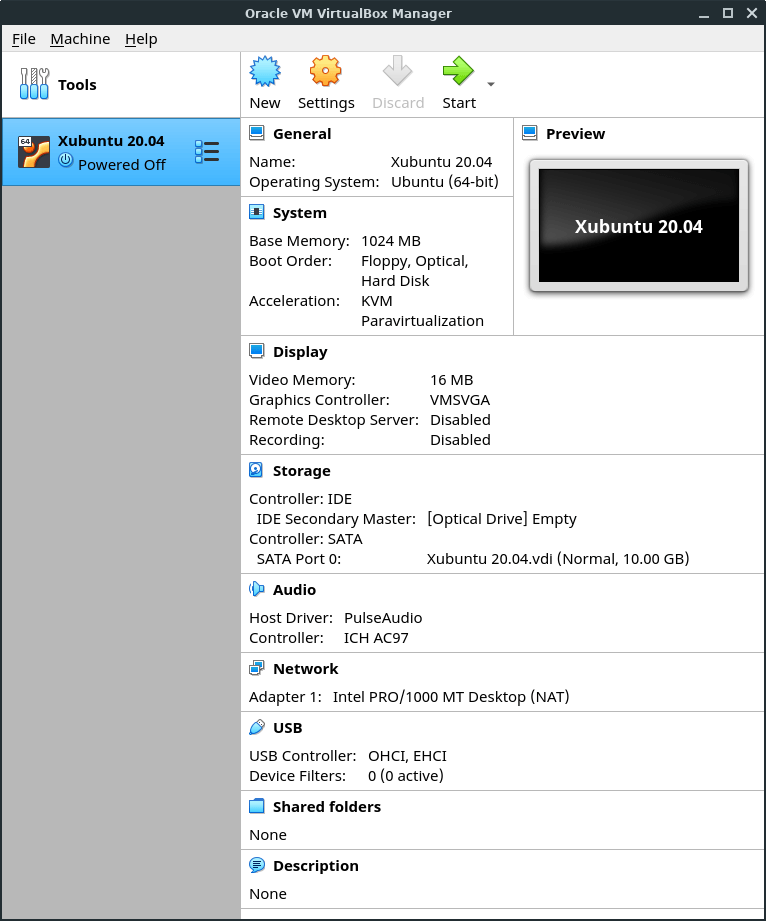
After hitting Create your new VM will be listed along the left-hand side of the main VirtualBox window. (At this point, it is just an empty container.)
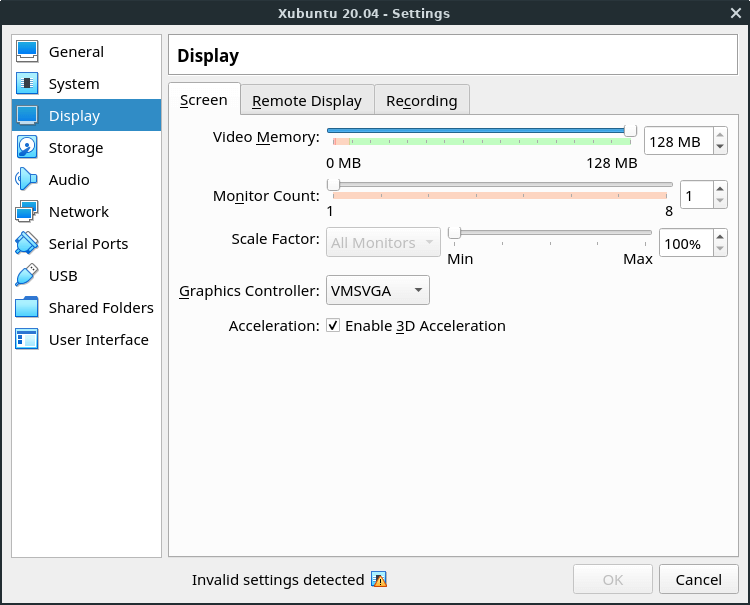
You can adjust a few settings for the VM either before or after installing the OS. We'll do it before installation. Highlight the VM and click Settings. Then, click Display along the left side and adjust the amount of video memory you want the VM to have. (Default is 16MB, we'll give it 128MB in this example.) Also, click to Enable either 3-D or 2-D Acceleration. (If one gives you an "invalid settings" message, unclick it and choose the other.)
Now, click USB on the left side and make sure that the USB controllers are enabled. This will allow you to copy to/from USB sticks in the VM.
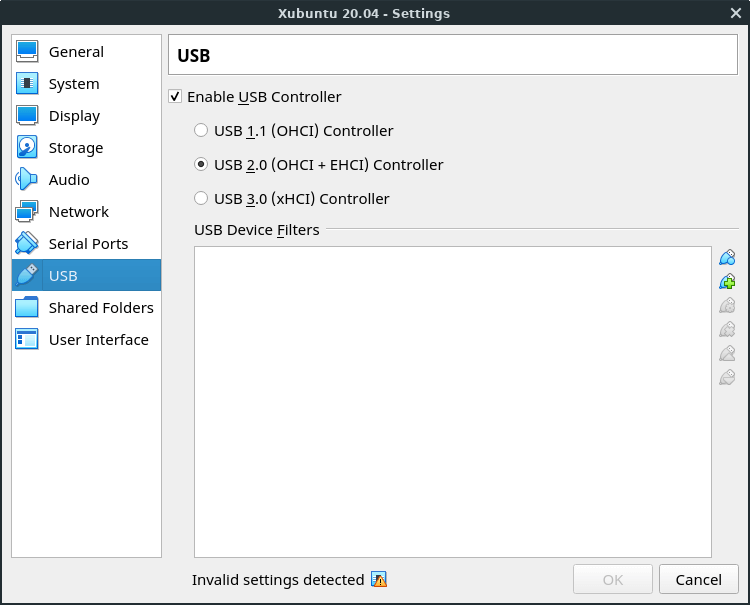
Click OK when done to get back to main window. With the VM highlighted on the left of main window, click the Start arrow to begin installation.
The first screen you see will ask you what to use as your installation source and the CD/DVD drive will likely be already listed. If that is what you are using and the disk is loaded in the tray, go ahead and hit Start.
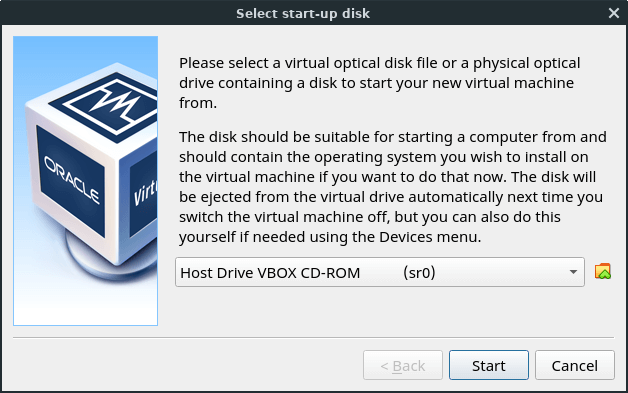
Otherwise, click on the yellow folder icon to the right. The box below will appear.
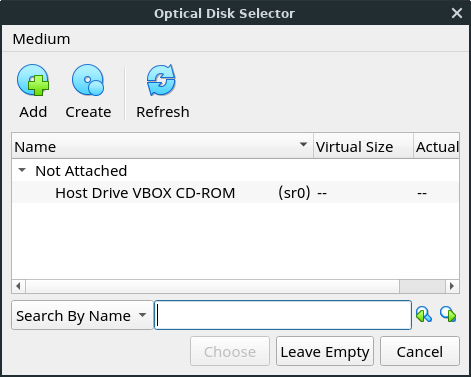
Browse to where your ISO image is.
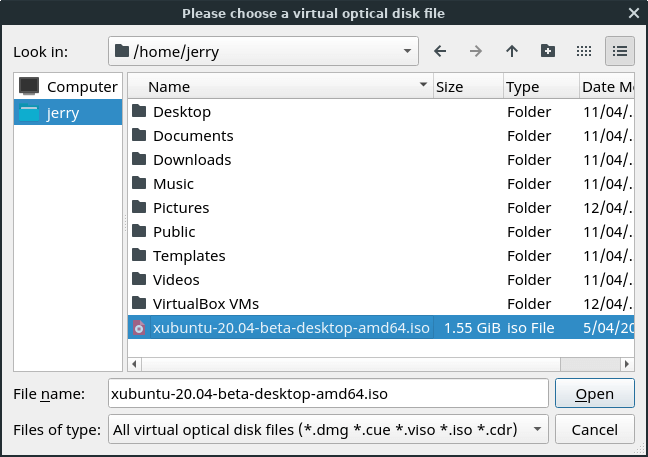
Click on it and then click on Open.
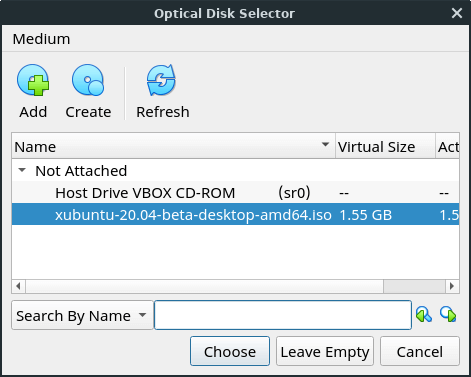
After you've found and selected your ISO, it will appear filled in the source box. Hit Start and it will now boot from the live ISO/CD/DVD.

When the live environment finishes loading, click the install icon on the desktop to begin the installer. The installation process is just the same as if you were installing to the computer normally. When asked if you want to "Erase disk and install", it is NOT going to erase your real hard drive - it is talking about the virtual hard drive. (Same thing if you choose 'Something else' and partition the drive manually.)
After install is complete, reboot the VM. If the installation disk appears to be stuck and not rebooting, click your mouse somewhere inside the VM window, then hit the ENTER key. If nothing happens, click the "x" on the VM window and choose to Shutdown the machine. Then just highlight the VM and hit the Start arrow again.
In the VM, you can do much the same as when installed for real on your computer. You can install things, download updates, etc., and it all happens within the virtual environment on the virtual HDD.
Whenever you want to shutdown a running VM, shutdown using the normal shutdown method of the OS in the VM - not by closing the VM window. (If the VM OS was Linux Lite, you would click Menu, Logout, Shutdown, just like on your computer.)
Using USB's in VirtualBox
Assuming you've already added the the VirtualBox Extension Pack to begin using USB's in your new VM, you need to add your username to the vboxusers group. (You only need to do that once, not for every individual VM you make.) You should perform the following steps while no VM's are open.
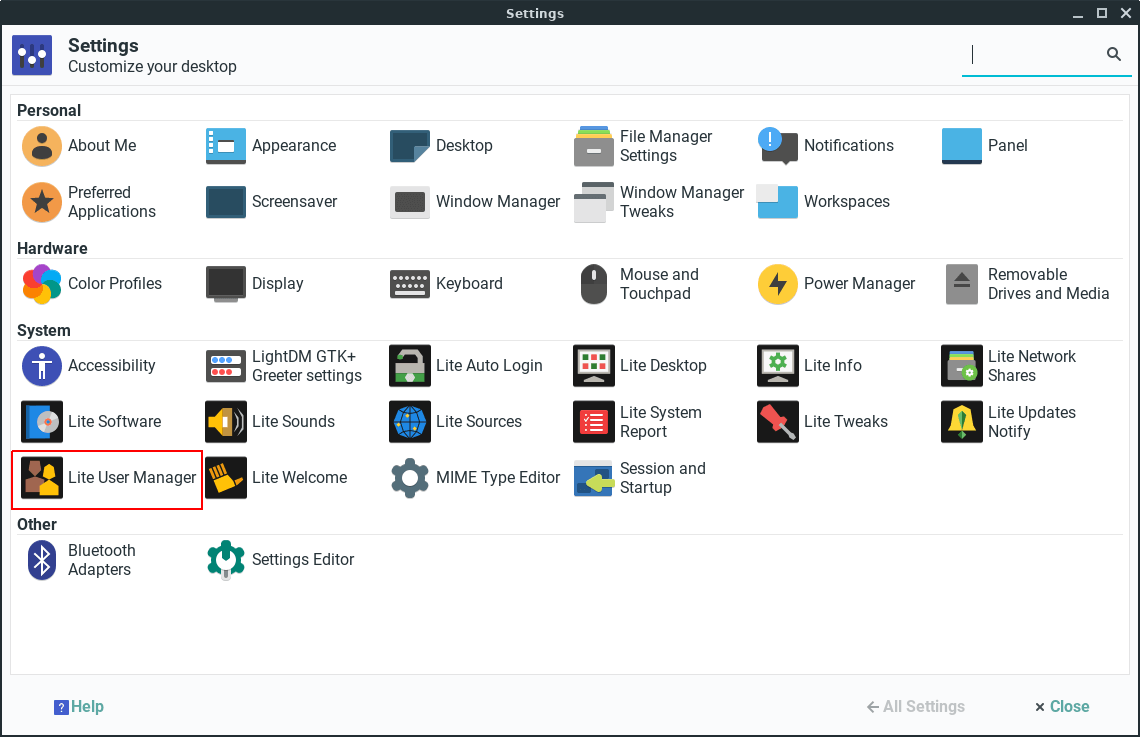
Open the Linux Lite (not VirtualBox) Settings Manager, Menu, Settings, Settings Manager and select the Lite User Manager.
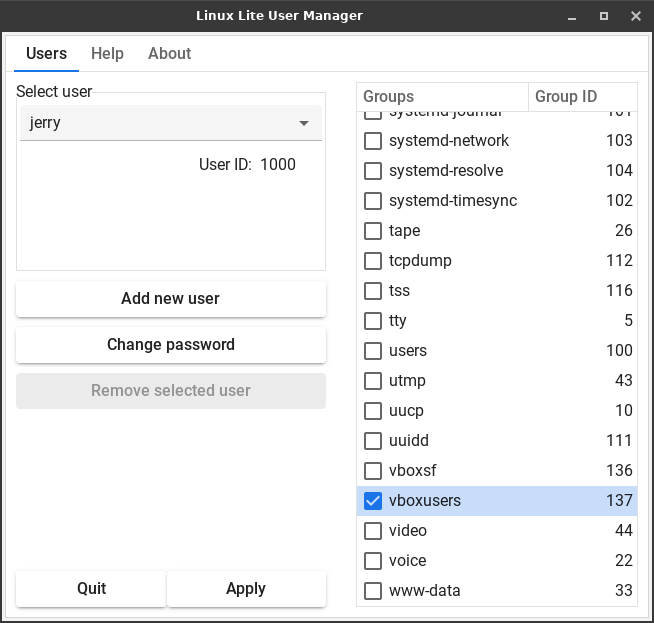
With your username showing under Select user, scroll down the list in the Groups column and place a check in the box next to vboxusers to add yourself to that group and hit Apply.
Close out Lite User Manager, the Settings Manager and any other open programs.
Reboot the computer, then log back in for the new setting to take effect.
Open VirtualBox and start your new VM.
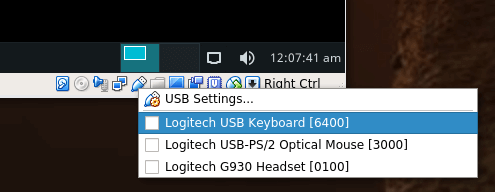
Once up and running you will see a little USB icon along bottom right edge of the VirtualBox window. Right-click on it to choose the USB you want to use.
Additional VirtualBox Information Sources:
VirtualBox Homepage
VirtualBox User Manual
VirtualBox Help Forums
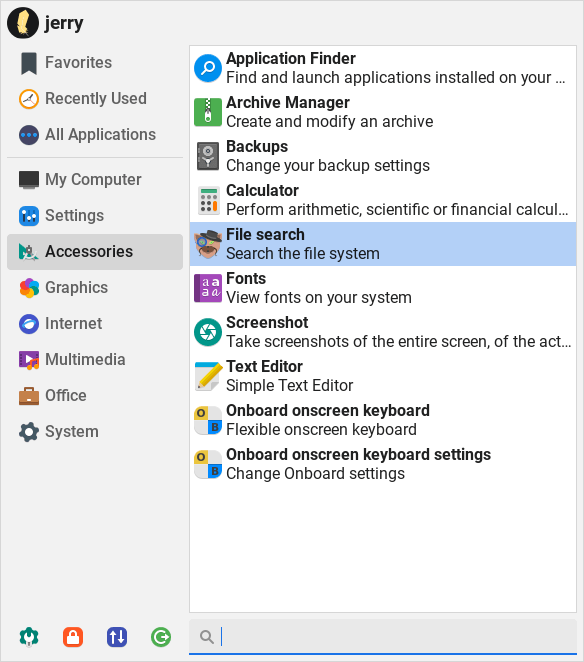
File Search
File search is an easy to use GUI file search utility found under Menu, Accessories, File search.
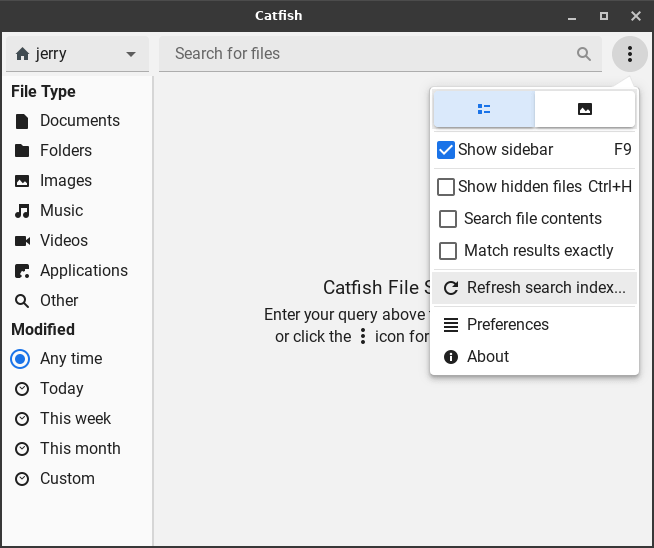
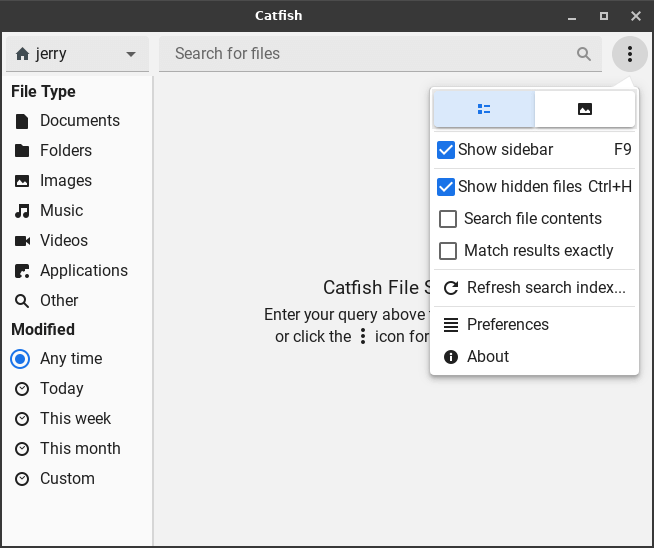
Upon opening File search, you will see this file search window: Click the gear icon in upper-right corner and choose Refresh search index.
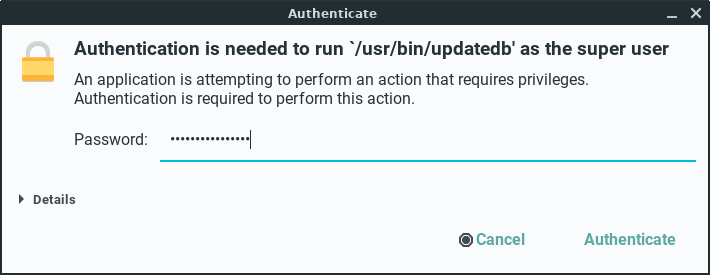
Now click on the Unlock button.

Enter your password.
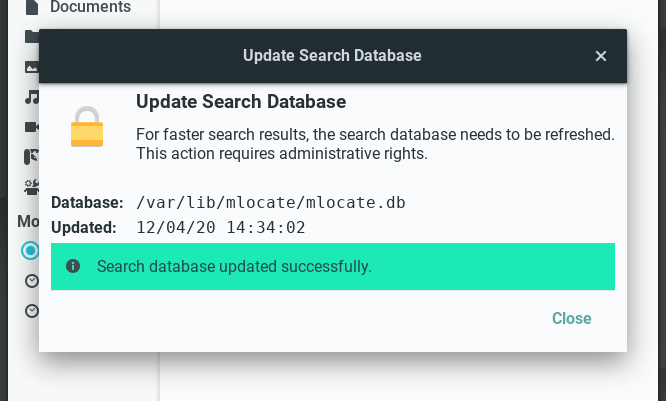
File search uses the locate command to search for files. The locate command relies on a database it maintains of the files on your computer. That database gets automatically updated periodically - normally once a day. Before conducting a search it is a good idea to manually update the database index to make sure that any file changes made since the last update are reflected in the search results.
Update complete.
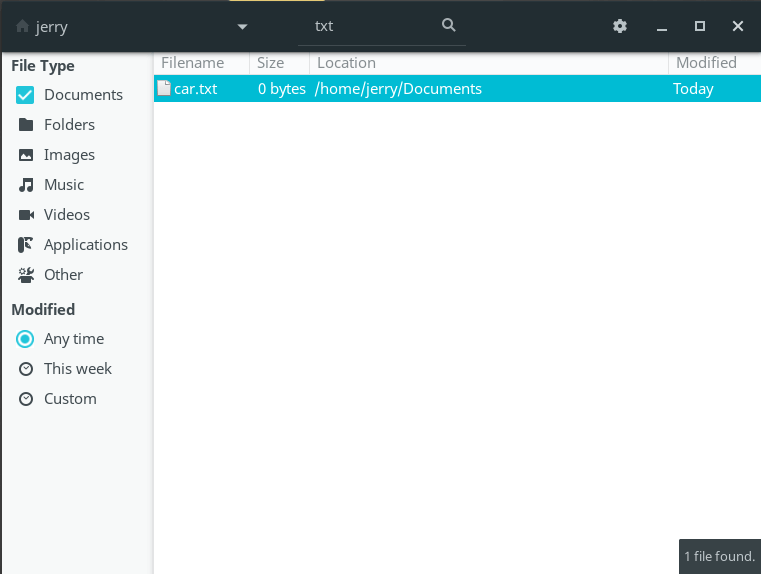
You can also use the gear button for other options like displaying advanced settings in the search window. The advanced settings display lets you filter search results by file modification dates, file types, file extensions, etc.
The example below shows a search in my Home folder for any file with car in the file name.
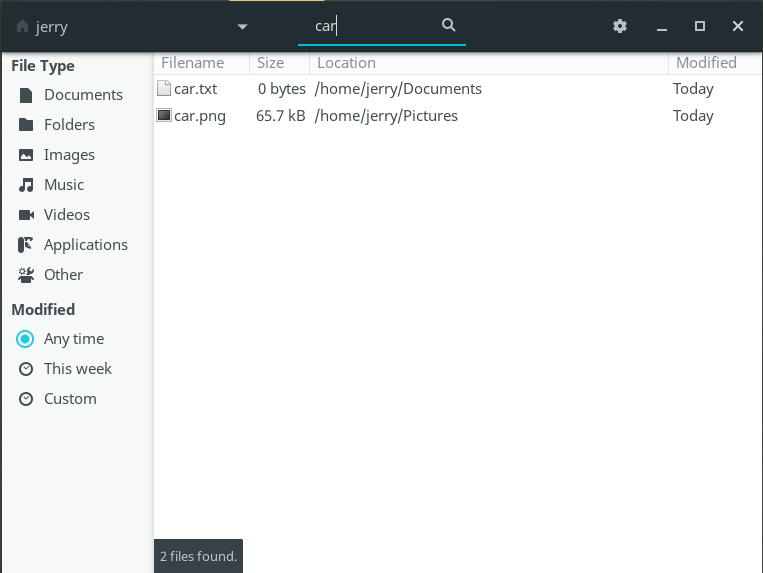
To limit the results to only txt files, simply click Documents under File Type in the advanced settings.